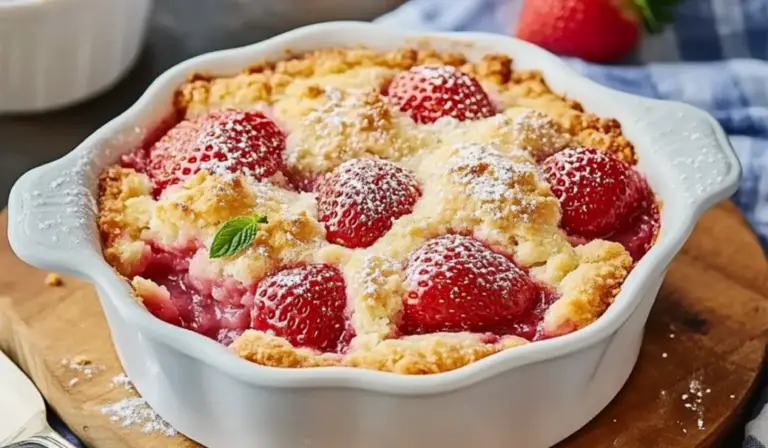
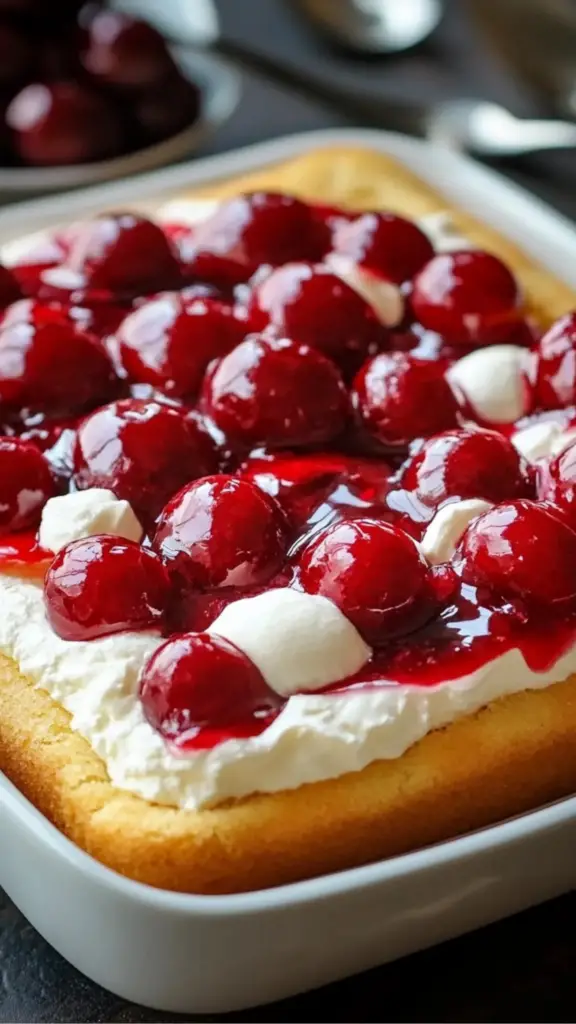
No-Bake Twinkie Pudding Cake
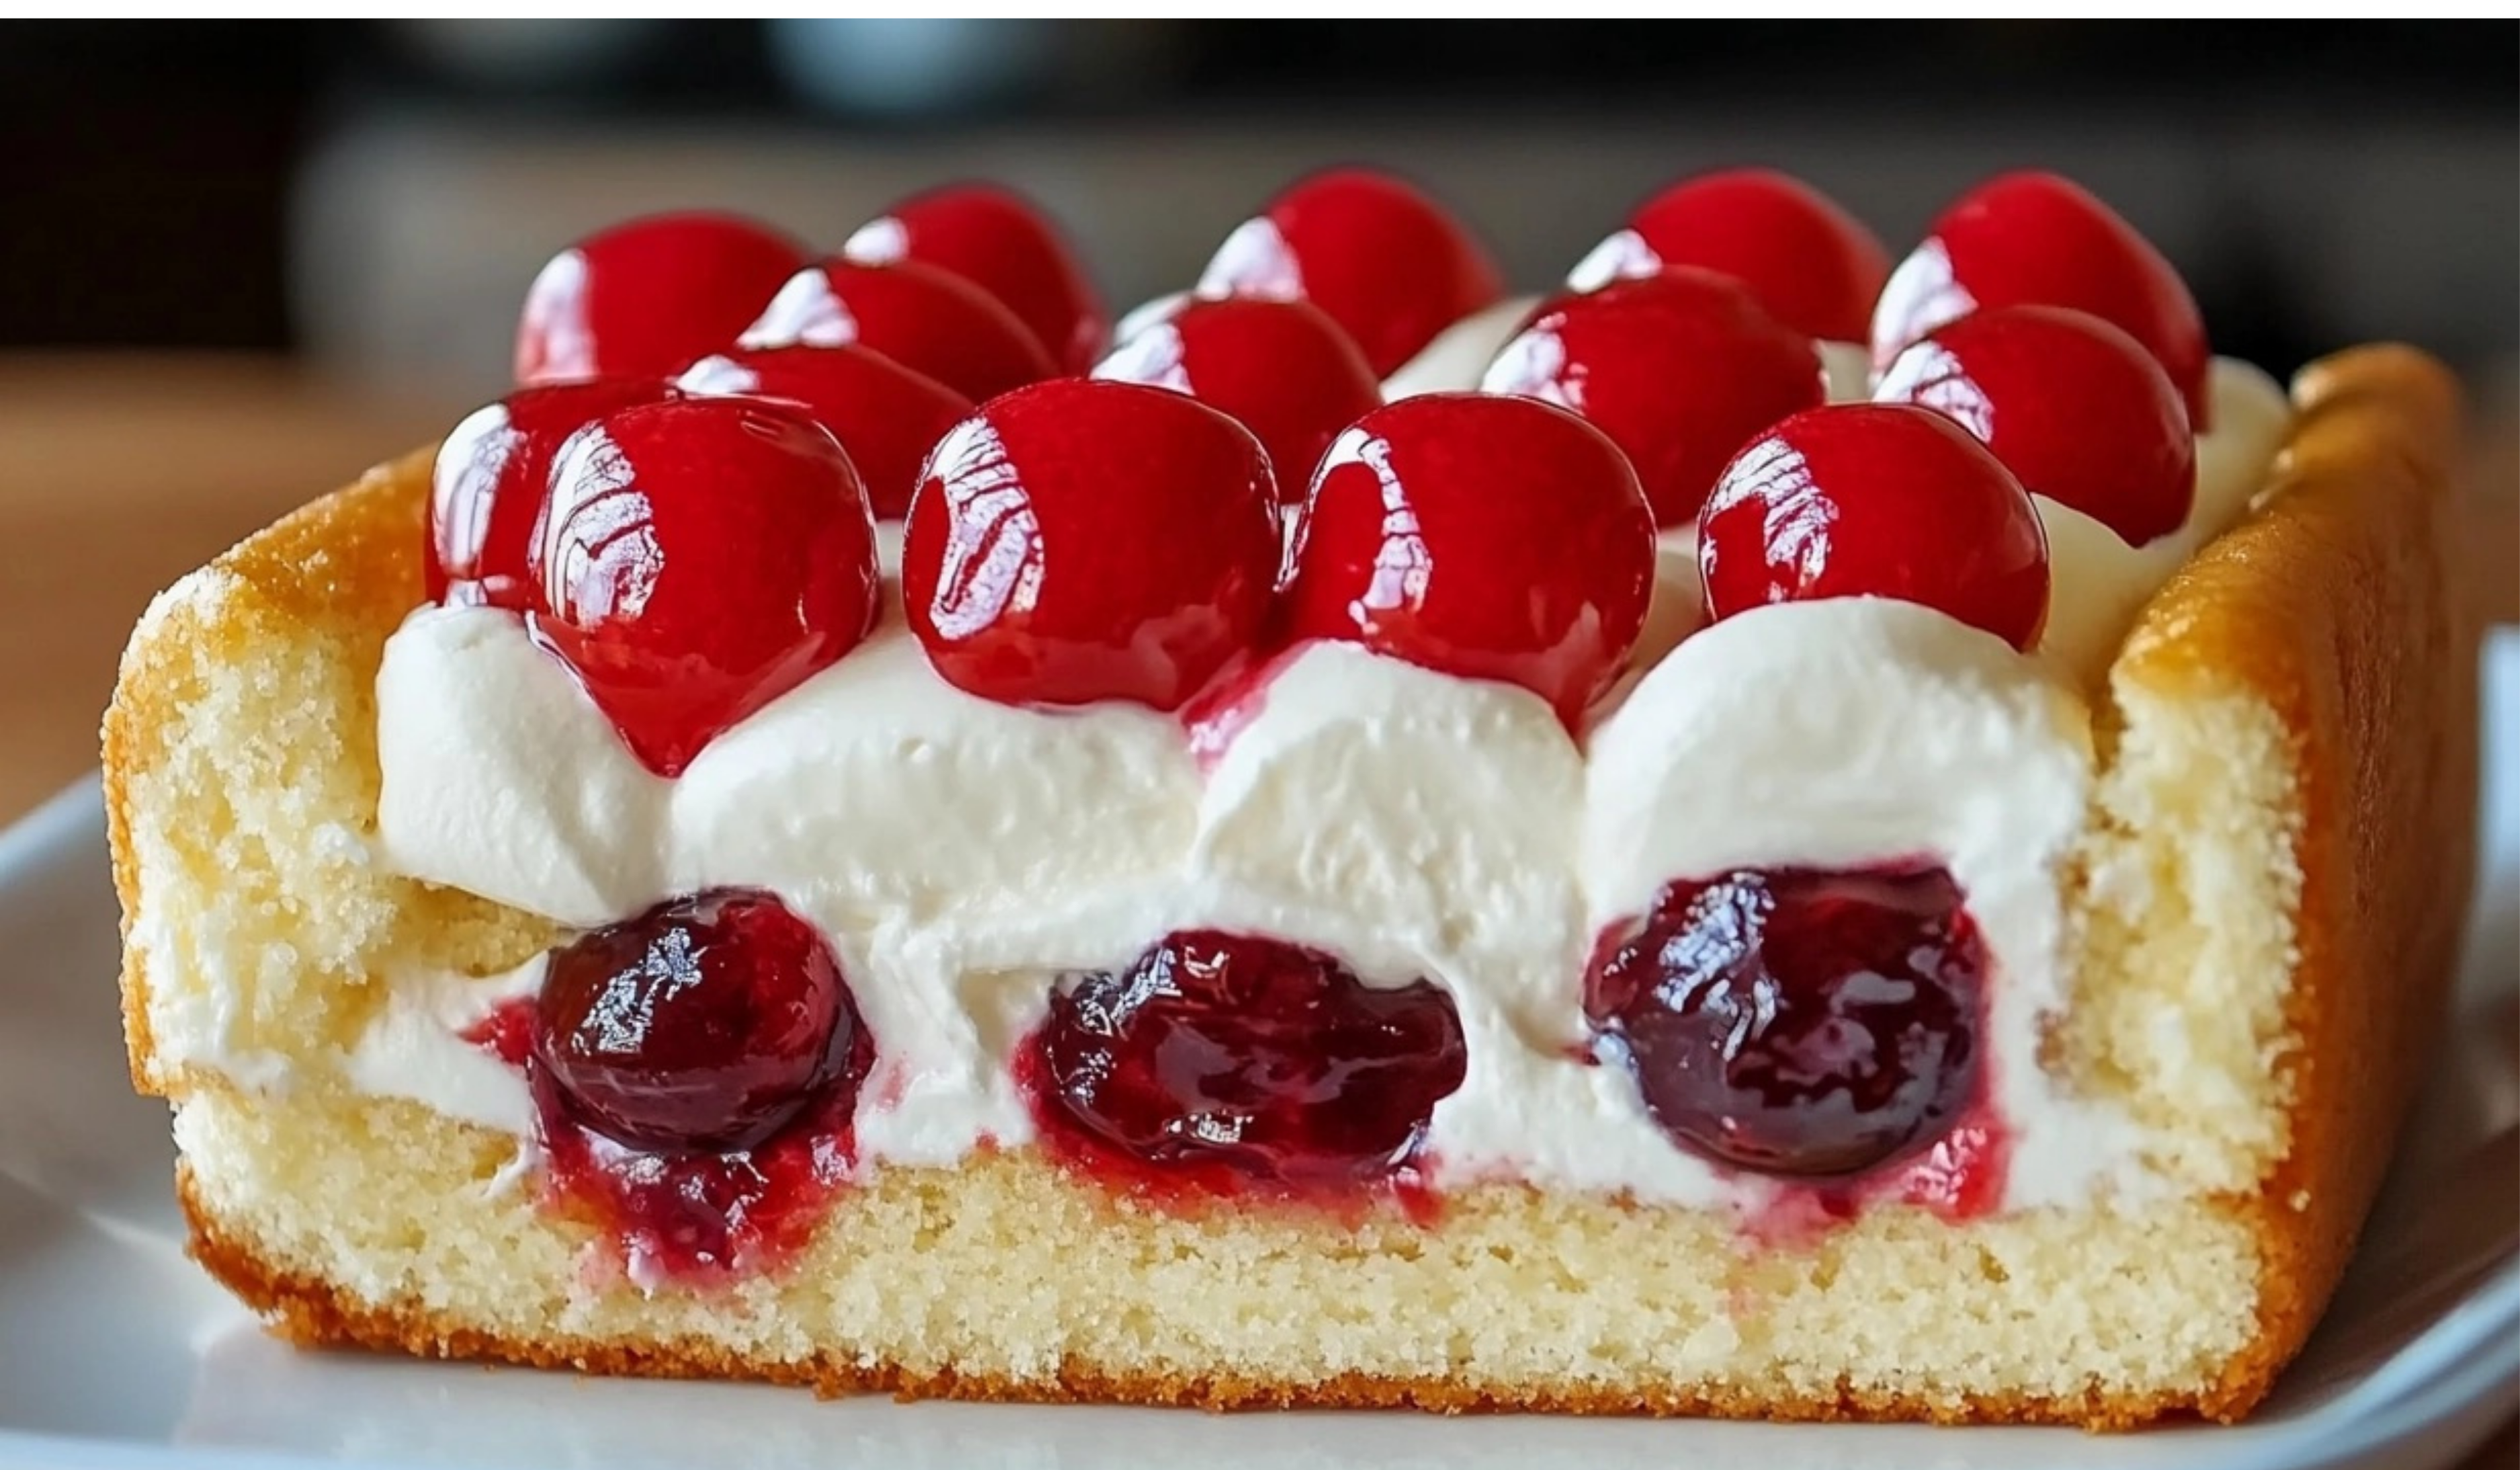
Looking for a dessert that’s easy to make yet impressively delicious? The No-Bake Twinkie Pudding Cake is a perfect solution. Combining the nostalgic sweetness of Twinkies, creamy vanilla pudding, airy whipped topping, and tangy cherry pie filling, this dessert offers layers of flavor and texture that everyone will love.
Print
No-Bake Twinkie Pudding Cake
🥧✨ Creamy, crunchy, and oh-so-delicious—Mini Cannoli Tarts are the ultimate bite-sized indulgence! 🍫🍋 With a flaky tart shell and a velvety ricotta filling, these tarts are topped with chocolate chips and a hint of citrus for the perfect Italian-inspired treat. 😍 Perfect for parties, gatherings, or anytime snacking! 🎉💖
#MiniCannoliTarts #ItalianDesserts #SweetIndulgence #CreamyAndCrunchy #DessertGoals #BiteSizedBliss #RicottaLove #ChocolateDelights #TartPerfection #SweetTreats 🥧🍫✨
- Total Time: 20 minutes
Ingredients
For the Cake Base
- 10 Twinkies: The iconic snack cakes form the foundation of this dessert, providing a soft, spongy texture and a touch of cream filling.
For the Pudding Layer
- 1 package (3.4 oz) instant vanilla pudding mix: Creates a creamy, flavorful layer that complements the Twinkies.
- 2 cups milk: Essential for mixing and thickening the pudding.
For the Topping
- 1 container (8 oz) whipped topping, thawed: Adds a light, fluffy layer to balance the richness of the pudding.
- 1 can (21 oz) cherry pie filling: The crowning glory, offering a pop of tart sweetness and a splash of vibrant color.
Instructions
1. Prepare the Base
- Slice each Twinkie in half lengthwise to expose the cream filling.
- Arrange the halved Twinkies in a single layer, cream side up, in the bottom of a 9×13-inch baking dish.
2. Mix the Pudding
- In a medium-sized mixing bowl, whisk together the instant vanilla pudding mix and milk until smooth.
- Allow the mixture to sit for a few minutes to thicken. This ensures the pudding will set properly when layered.
3. Add the Pudding Layer
- Pour the prepared pudding evenly over the Twinkie layer, spreading it with a spatula to ensure full coverage.
4. Add the Whipped Topping
- Gently spread the whipped topping over the pudding layer, creating a smooth and even coating.
5. Top with Cherries
- Spoon the cherry pie filling evenly over the whipped topping, ensuring every slice will have a bit of fruit in it.
6. Chill and Set
- Cover the dish with plastic wrap or foil and refrigerate for at least 4 hours, or overnight if possible. This allows the layers to meld together, enhancing the flavor and texture.
Notes
Flavors
- The sweetness of the Twinkies is perfectly balanced by the creamy vanilla pudding and light whipped topping.
- The cherry pie filling adds a tangy contrast, cutting through the richness of the dessert.
Textures
- Each bite combines the softness of the Twinkies with the silky smoothness of the pudding and the fluffiness of the whipped topping. The cherries add a juicy, slightly firm texture that completes the experience.
- Prep Time: 20 minutes
- Cook Time: 0 minutes
Whether you’re preparing for unexpected guests or planning a celebration, this recipe is sure to become a go-to favorite. Best of all, it requires no baking and can be assembled in just 20 minutes. Let’s dive into this effortless yet irresistible creation!
Ingredients: What You’ll Need
For the Cake Base
- 10 Twinkies: The iconic snack cakes form the foundation of this dessert, providing a soft, spongy texture and a touch of cream filling.
For the Pudding Layer
- 1 package (3.4 oz) instant vanilla pudding mix: Creates a creamy, flavorful layer that complements the Twinkies.
- 2 cups milk: Essential for mixing and thickening the pudding.
For the Topping
- 1 container (8 oz) whipped topping, thawed: Adds a light, fluffy layer to balance the richness of the pudding.
- 1 can (21 oz) cherry pie filling: The crowning glory, offering a pop of tart sweetness and a splash of vibrant color.
Step-by-Step Instructions
1. Prepare the Base
- Slice each Twinkie in half lengthwise to expose the cream filling.
- Arrange the halved Twinkies in a single layer, cream side up, in the bottom of a 9×13-inch baking dish.
2. Mix the Pudding
- In a medium-sized mixing bowl, whisk together the instant vanilla pudding mix and milk until smooth.
- Allow the mixture to sit for a few minutes to thicken. This ensures the pudding will set properly when layered.
3. Add the Pudding Layer
- Pour the prepared pudding evenly over the Twinkie layer, spreading it with a spatula to ensure full coverage.
4. Add the Whipped Topping
- Gently spread the whipped topping over the pudding layer, creating a smooth and even coating.
5. Top with Cherries
- Spoon the cherry pie filling evenly over the whipped topping, ensuring every slice will have a bit of fruit in it.
6. Chill and Set
- Cover the dish with plastic wrap or foil and refrigerate for at least 4 hours, or overnight if possible. This allows the layers to meld together, enhancing the flavor and texture.
Flavors and Textures: What to Expect
Flavors
- The sweetness of the Twinkies is perfectly balanced by the creamy vanilla pudding and light whipped topping.
- The cherry pie filling adds a tangy contrast, cutting through the richness of the dessert.
Textures
- Each bite combines the softness of the Twinkies with the silky smoothness of the pudding and the fluffiness of the whipped topping. The cherries add a juicy, slightly firm texture that completes the experience.
Tips for the Perfect Twinkie Pudding Cake
- Use Fresh Twinkies
- Fresher Twinkies are softer and absorb the pudding better, resulting in a more cohesive dessert.
- Customize the Topping
- While cherry pie filling is classic, you can switch it up with blueberry, strawberry, or even peach pie filling.
- Add Crunch
- Sprinkle chopped nuts, crushed cookies, or graham cracker crumbs between the layers for added texture.
- Chill Time is Key
- Don’t rush the refrigeration step. The longer it chills, the better the flavors meld together.
Variations to Try
Chocolate Lovers’ Twist
- Replace the vanilla pudding with chocolate pudding and use chocolate sauce as a drizzle over the whipped topping.
Banana Bliss
- Add a layer of sliced bananas between the Twinkies and pudding.
Tropical Delight
- Use coconut cream pudding and top with crushed pineapple and toasted coconut flakes.
Seasonal Flair
- Incorporate seasonal fruits like raspberries or cranberries into the topping for a festive touch.
Serving Suggestions
- For Parties: Slice the dessert into small squares and serve on colorful dessert plates for a fun, festive vibe.
- A La Mode: Serve each slice with a scoop of vanilla ice cream for added indulgence.
- Elegant Presentation: Garnish with a dollop of whipped cream and a fresh cherry on top for a refined look.
Storage Tips
- Refrigeration: Store the dessert covered in the refrigerator for up to 3 days. The flavors will continue to meld, but the Twinkies may become softer over time.
- Freezing: While this dessert is best enjoyed fresh, you can freeze it for up to 1 month. Thaw in the refrigerator before serving.
Why You’ll Love This Dessert
The No-Bake Twinkie Pudding Cake is a delightful combination of simplicity and flavor. It’s perfect for last-minute gatherings or when you need a crowd-pleasing dessert without spending hours in the kitchen. The layers come together beautifully, offering a treat that’s as visually appealing as it is delicious.
Final Thoughts
This dessert proves that you don’t need complicated techniques or ingredients to create something truly special. The nostalgic charm of Twinkies, paired with creamy pudding and vibrant cherries, makes the No-Bake Twinkie Pudding Cake a recipe worth saving.
Gather your ingredients, assemble in minutes, and watch as this dessert becomes the highlight of your table. Enjoy every bite! 🍒✨