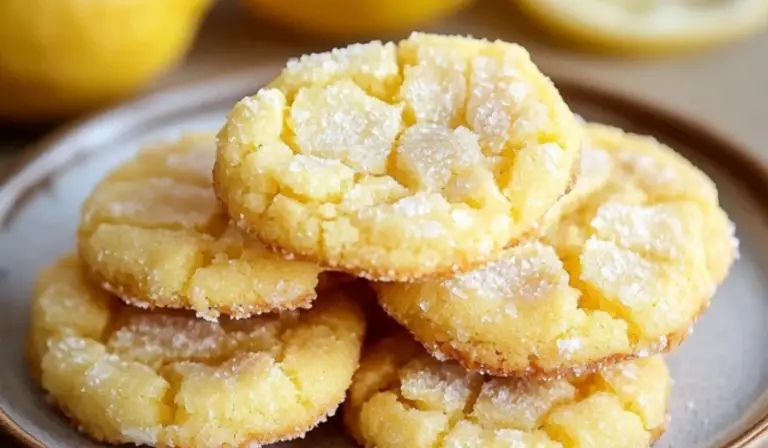
No-Bake Orange Creamsicle Truffles: A Sweet and Simple Treat for Beginners
There is something truly nostalgic about the flavor of an orange creamsicle. The combination of creamy vanilla and bright citrus transports many back to childhood summers, enjoying frozen treats on warm afternoons. Now, imagine experiencing that same delightful taste in a soft, bite-sized truffle. These no-bake orange creamsicle truffles bring that classic flavor into an easy, homemade dessert that requires no oven, no special equipment, and just a handful of ingredients.
Print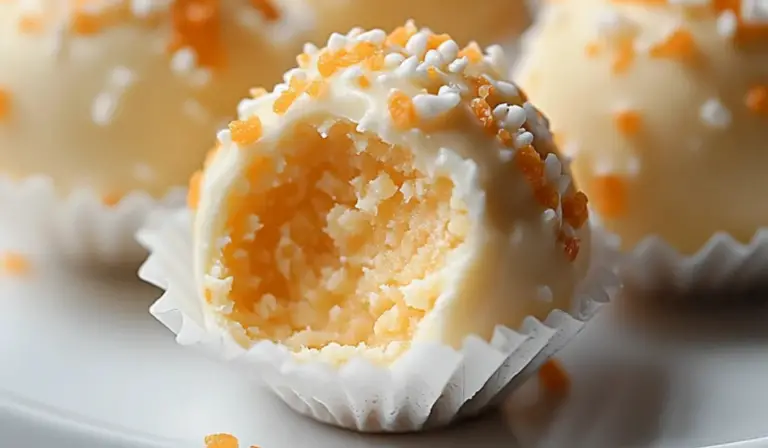
No-Bake Orange Creamsicle Truffles: A Sweet and Simple Treat for Beginners
Creamy, citrusy, and melt-in-your-mouth delicious! These No-Bake Orange Creamsicle Truffles bring the nostalgic flavor of orange and vanilla in a bite-sized, beginner-friendly treat! 🍊🍦✨
- Total Time: 50 minutes (includes chilling time)
- Yield: 20 truffles 1x
Ingredients
- 1 ½ cups (180 g) powdered sugar
- ½ cup (115 g) unsalted butter, softened
- 2 cups (120 g) finely crushed vanilla wafers
- ¼ cup (60 ml) frozen orange juice concentrate, thawed
- 1 teaspoon orange zest (optional, for extra flavor)
- ½ teaspoon vanilla extract
- 1 cup (200 g) white chocolate chips or candy melts (for coating)
Instructions
Step 1: Prepare the Truffle Mixture
In a large mixing bowl, beat the softened butter and powdered sugar together until smooth and creamy. This step ensures the sugar fully incorporates into the butter, creating a light and fluffy base. Stir in the orange juice concentrate, orange zest (if using), and vanilla extract. The orange juice provides the signature citrusy tang, while the vanilla balances the flavors, giving the truffles a classic creamsicle taste. Add the crushed vanilla wafers and mix until a dough-like consistency forms. The crumbs should fully absorb the moisture from the butter and juice, creating a moldable mixture. If the dough appears too soft or sticky, refrigerate it for a few minutes to firm up.
Step 2: Shape the Truffles
Using a tablespoon or small cookie scoop, portion out equal-sized pieces of dough. Roll each piece between your palms to form smooth, bite-sized balls. Place the shaped truffles onto a parchment-lined baking sheet, ensuring they are evenly spaced. Refrigerate for at least 30 minutes to allow them to firm up. This step is crucial for ensuring the truffles hold their shape when coated in chocolate.
Step 3: Melt the White Chocolate
In a microwave-safe bowl, melt the white chocolate chips or candy melts in 20-second intervals, stirring after each interval. This prevents overheating, which can cause the chocolate to seize and become lumpy. Continue heating and stirring until the chocolate is completely smooth. If the melted chocolate appears too thick for dipping, a teaspoon of vegetable oil or coconut oil can be added to thin it out. This makes coating the truffles easier and gives them a smoother finish.
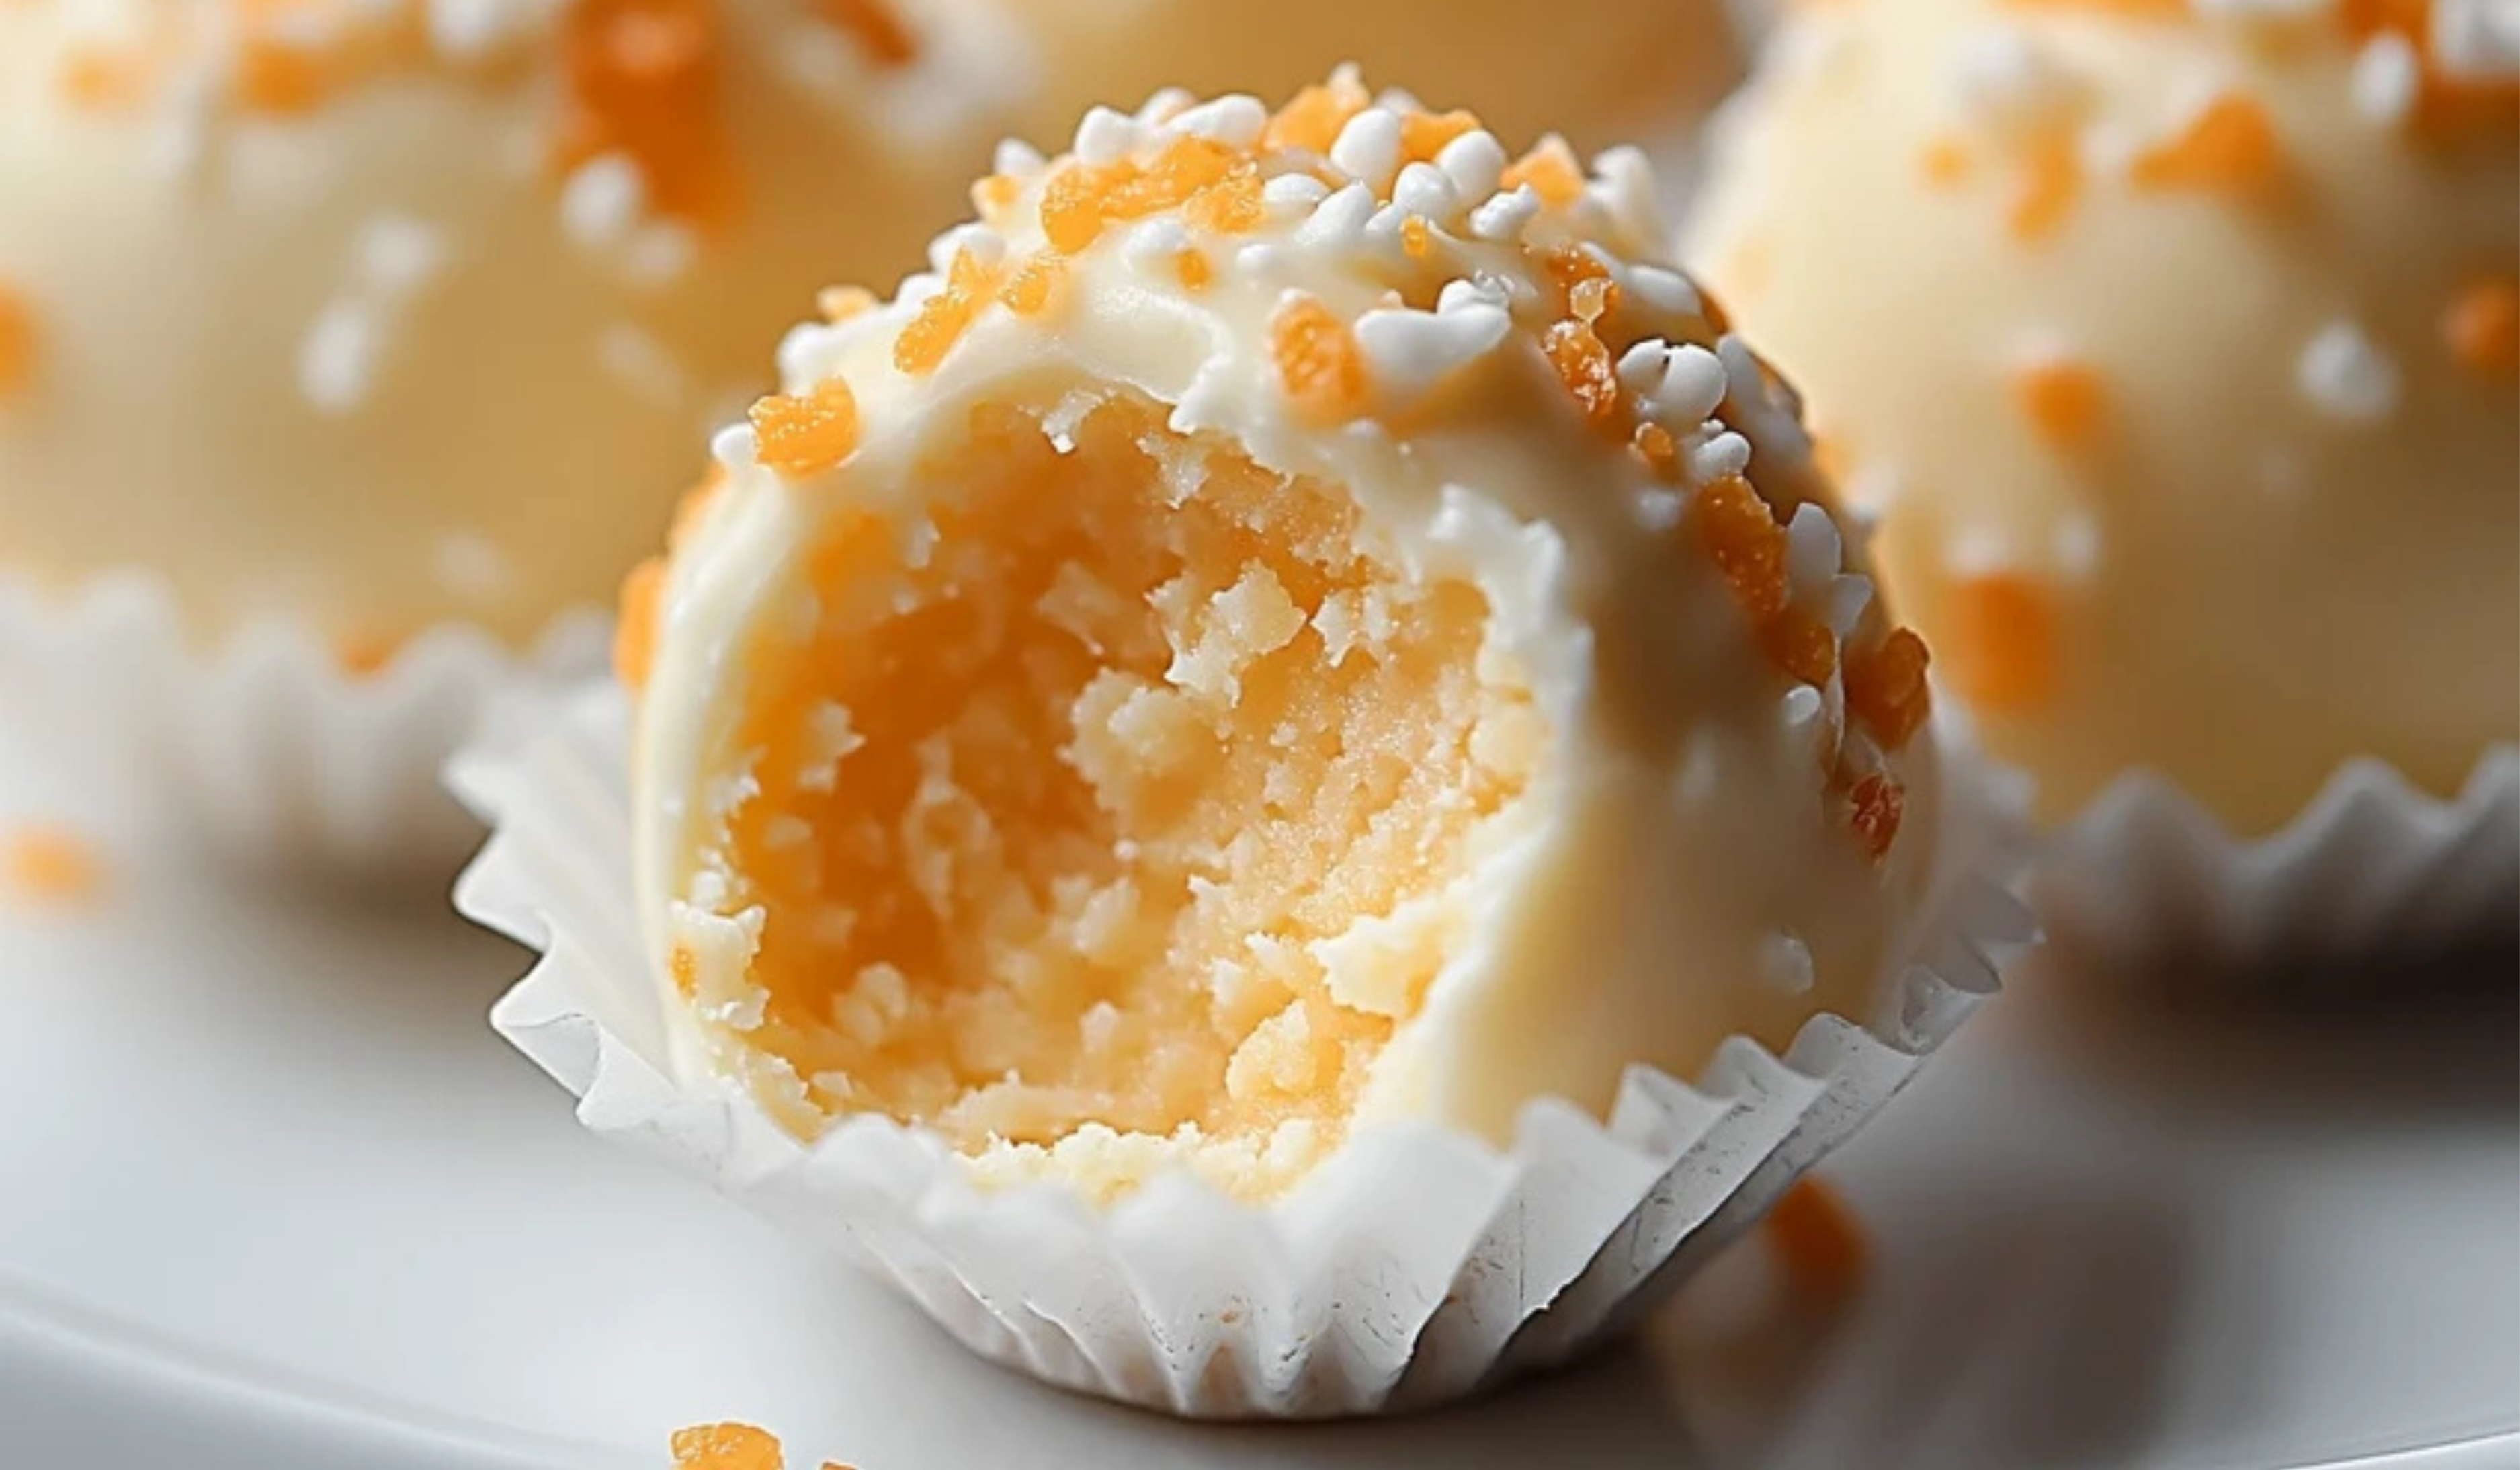
Step 4: Coat the Truffles
Using a fork or dipping tool, carefully dip each chilled truffle into the melted white chocolate. Allow any excess chocolate to drip off before placing the coated truffles back onto the parchment-lined baking sheet. While the coating is still wet, sprinkle the truffles with optional garnishes such as sprinkles or extra orange zest. These add a decorative touch and enhance the flavor.
Step 5: Set and Serve
Refrigerate the truffles for 15 to 20 minutes to allow the coating to fully harden. Once set, they can be served immediately or stored for later enjoyment.
Notes
Common Mistakes and How to Avoid Them
Overmixing the dough can lead to a dense or overly soft texture. Mix just until combined to maintain a light consistency. If the truffles fall apart while rolling, the dough may be too dry. Adding a small amount of extra orange juice concentrate or melted butter can help bind the ingredients. When melting the chocolate, overheating can cause it to become thick and difficult to work with. If this happens, adding a teaspoon of oil can help smooth it out.
Storage Tips
Store truffles in an airtight container in the refrigerator for up to one week. For longer storage, place them in a freezer-safe container and freeze for up to three months. Allow frozen truffles to thaw in the refrigerator before serving.
Ingredient Substitutions
Instead of vanilla wafers, graham cracker crumbs can be used for a slightly different texture and taste. For a stronger citrus flavor, a few drops of orange extract can be added. To reduce sweetness, reduce the powdered sugar slightly or use a mix of crushed nuts and wafers for added texture.
- Prep Time: 20 minutes
For beginners in the kitchen, this recipe is a perfect starting point. It is simple, requires minimal effort, and delivers impressive results. No complicated techniques or hard-to-find ingredients are involved, making it accessible for anyone eager to try their hand at homemade confections. This dessert is also versatile, allowing for ingredient substitutions and easy customization.
The appeal of these truffles goes beyond just their simplicity. They make an excellent treat for a variety of occasions, whether as a fun family activity, a homemade gift, or a quick dessert to share with friends. Since they can be made ahead of time and stored for later, they are perfect for those who want a sweet treat ready whenever the craving strikes.
Ingredients and Preparation
Before starting, it is important to gather all ingredients and prepare the workspace. Since this is a no-bake recipe, there is no need for an oven, but a refrigerator will be used to help set the truffles.
Ingredients
- 1 ½ cups (180 g) powdered sugar
- ½ cup (115 g) unsalted butter, softened
- 2 cups (120 g) finely crushed vanilla wafers
- ¼ cup (60 ml) frozen orange juice concentrate, thawed
- 1 teaspoon orange zest (optional, for extra flavor)
- ½ teaspoon vanilla extract
- 1 cup (200 g) white chocolate chips or candy melts (for coating)
Optional Garnishes
- Sprinkles
- Extra orange zest
Preparation Tips
Allow the butter to soften at room temperature for easy mixing. Crush the vanilla wafers until they have a fine, sand-like texture. This can be done using a food processor or by placing the wafers in a sealed bag and crushing them with a rolling pin. Use freshly grated orange zest to enhance the citrus flavor. If zesting an orange, avoid the bitter white pith beneath the peel. For a more intense orange flavor, a few drops of orange extract can be added to the mixture.
Step-by-Step Instructions
Step 1: Prepare the Truffle Mixture
In a large mixing bowl, beat the softened butter and powdered sugar together until smooth and creamy. This step ensures the sugar fully incorporates into the butter, creating a light and fluffy base. Stir in the orange juice concentrate, orange zest (if using), and vanilla extract. The orange juice provides the signature citrusy tang, while the vanilla balances the flavors, giving the truffles a classic creamsicle taste. Add the crushed vanilla wafers and mix until a dough-like consistency forms. The crumbs should fully absorb the moisture from the butter and juice, creating a moldable mixture. If the dough appears too soft or sticky, refrigerate it for a few minutes to firm up.
Step 2: Shape the Truffles
Using a tablespoon or small cookie scoop, portion out equal-sized pieces of dough. Roll each piece between your palms to form smooth, bite-sized balls. Place the shaped truffles onto a parchment-lined baking sheet, ensuring they are evenly spaced. Refrigerate for at least 30 minutes to allow them to firm up. This step is crucial for ensuring the truffles hold their shape when coated in chocolate.
Step 3: Melt the White Chocolate
In a microwave-safe bowl, melt the white chocolate chips or candy melts in 20-second intervals, stirring after each interval. This prevents overheating, which can cause the chocolate to seize and become lumpy. Continue heating and stirring until the chocolate is completely smooth. If the melted chocolate appears too thick for dipping, a teaspoon of vegetable oil or coconut oil can be added to thin it out. This makes coating the truffles easier and gives them a smoother finish.
Step 4: Coat the Truffles
Using a fork or dipping tool, carefully dip each chilled truffle into the melted white chocolate. Allow any excess chocolate to drip off before placing the coated truffles back onto the parchment-lined baking sheet. While the coating is still wet, sprinkle the truffles with optional garnishes such as sprinkles or extra orange zest. These add a decorative touch and enhance the flavor.
Step 5: Set and Serve
Refrigerate the truffles for 15 to 20 minutes to allow the coating to fully harden. Once set, they can be served immediately or stored for later enjoyment.
Beginner Tips and Notes
Common Mistakes and How to Avoid Them
Overmixing the dough can lead to a dense or overly soft texture. Mix just until combined to maintain a light consistency. If the truffles fall apart while rolling, the dough may be too dry. Adding a small amount of extra orange juice concentrate or melted butter can help bind the ingredients. When melting the chocolate, overheating can cause it to become thick and difficult to work with. If this happens, adding a teaspoon of oil can help smooth it out.
Storage Tips
Store truffles in an airtight container in the refrigerator for up to one week. For longer storage, place them in a freezer-safe container and freeze for up to three months. Allow frozen truffles to thaw in the refrigerator before serving.
Ingredient Substitutions
Instead of vanilla wafers, graham cracker crumbs can be used for a slightly different texture and taste. For a stronger citrus flavor, a few drops of orange extract can be added. To reduce sweetness, reduce the powdered sugar slightly or use a mix of crushed nuts and wafers for added texture.

Serving Suggestions
These truffles are versatile and can be enjoyed in a variety of ways. Pair them with coffee or tea, as their creamy sweetness balances well with the bitterness of black coffee or unsweetened tea. Serve them as part of a dessert platter alongside fresh fruit, chocolate truffles, or other small treats for an elegant dessert spread. For a richer flavor, consider dipping the truffles in dark chocolate instead of white chocolate. Finely chopped almonds or pistachios can also be sprinkled on top for added texture and a nutty contrast to the sweetness.
Since these truffles can be made in advance, they are perfect for gifting. Placing them in decorative boxes or wrapping them in cellophane with a ribbon makes for a thoughtful homemade gift.
Engagement Features
For those trying this recipe for the first time, experimenting with different flavors and decorations can be a fun way to personalize the truffles. Sharing experiences, whether through photos or comments, helps others gain confidence in the kitchen. If making these truffles with children, allowing them to help roll the dough or add sprinkles can turn the process into a fun activity. Since the recipe is no-bake, it is safe for kids to participate in every step.
Encouraging others to try different variations, such as using different citrus flavors or experimenting with coatings, keeps the recipe exciting and adaptable. Lemon, lime, or even a mix of citrus zests could offer new and refreshing takes on the classic orange creamsicle flavor.
For those who enjoy easy, no-bake treats, this recipe serves as a gateway into homemade confections, showing that delicious desserts do not require advanced skills or hours of effort. Whether making them for personal enjoyment or sharing them with loved ones, these orange creamsicle truffles are a simple yet delightful treat that anyone can master.