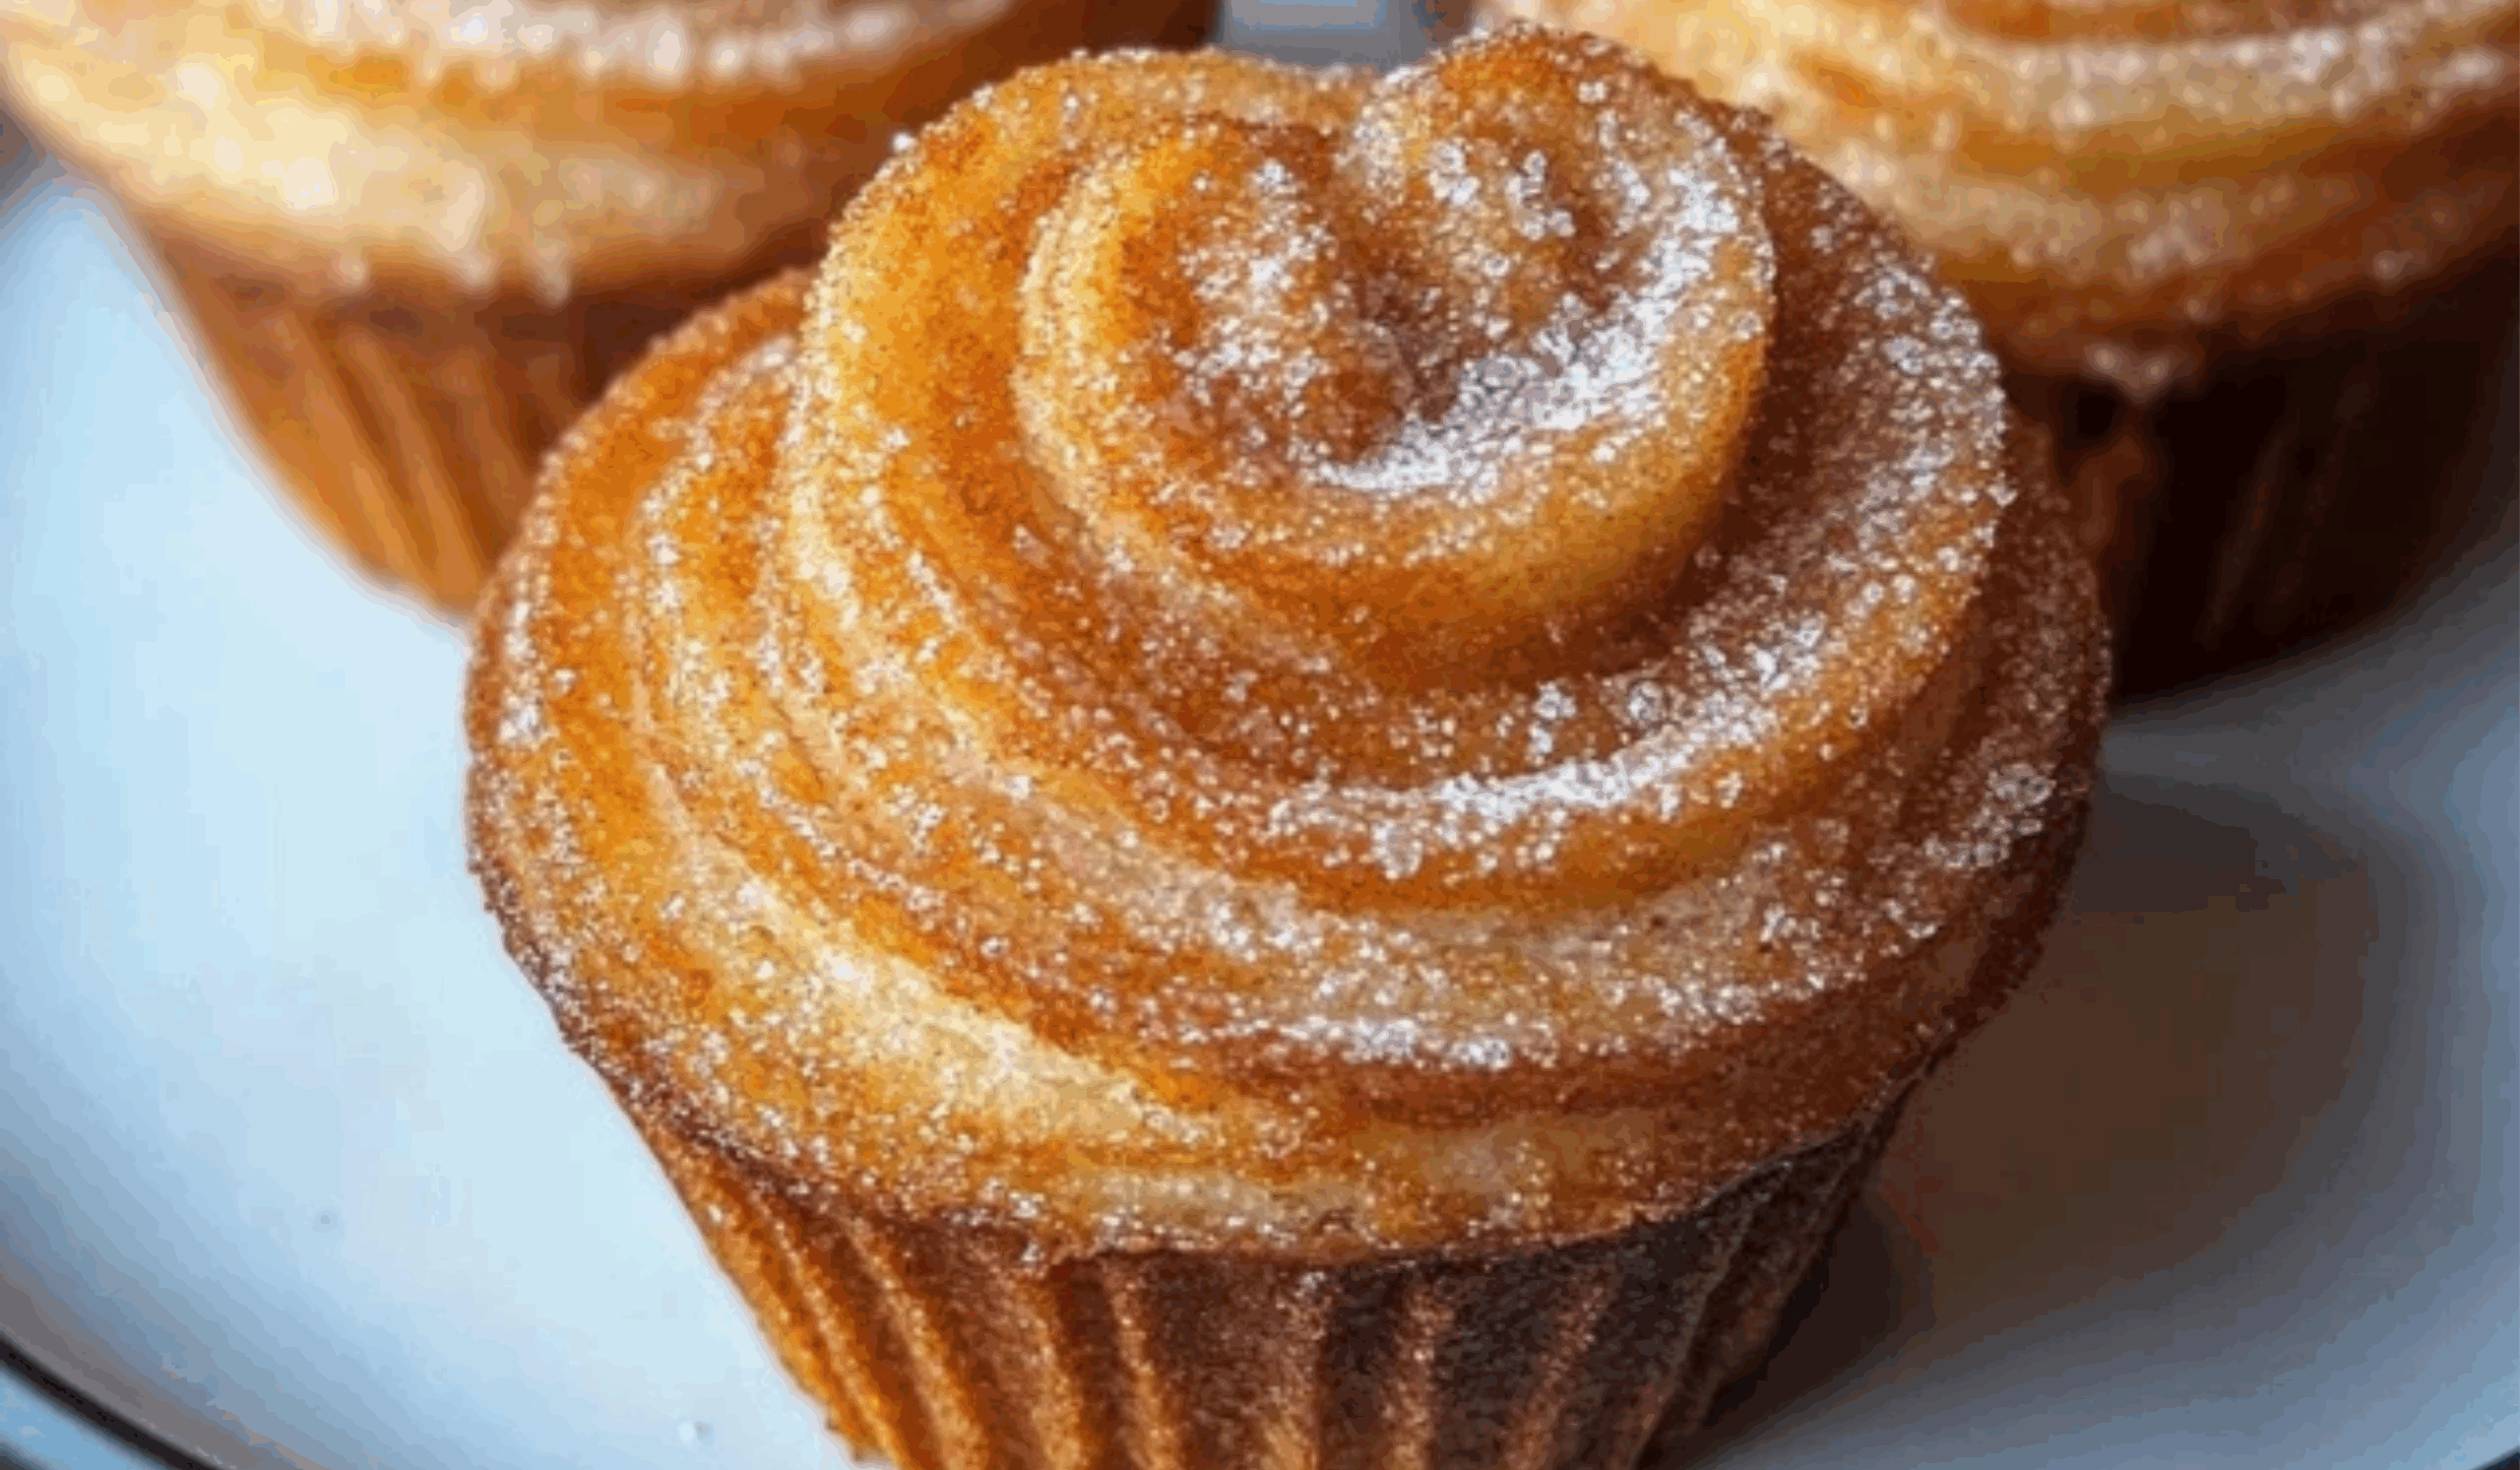
Churro Cruffins: A Simple and Sweet Treat for Home Bakers
It started with a lazy Sunday and a nearly forgotten sheet of puff pastry in my freezer. I wasn’t in the mood to wrestle with dough from scratch, but I was craving something warm, flaky, and special. That’s when I remembered a recipe I had scribbled down weeks earlier: churro cruffins. The idea of combining the flaky layers of a croissant with the shape of a muffin—and coating the whole thing in cinnamon sugar—seemed almost too good to be true. But with just a few pantry staples and less than an hour in the kitchen, I had a tray of golden, sugar-dusted pastries cooling on the counter.
Print
Churro Cruffins: A Simple and Sweet Treat for Home Bakers
Flaky, buttery, and rolled in cinnamon sugar—these Churro Cruffins are a dream come true! 🥐✨ With all the churro flavor and croissant-style flair, this beginner-friendly treat is as fun to make as it is to eat. 💫 Whether for brunch or dessert, these sweet spirals are guaranteed to impress without the stress! 🍯💕
- Total Time: 40 minutes
- Yield: 6–8 cruffins 1x
Ingredients
For the Dough:
- 1 sheet puff pastry, thawed
- 1/4 cup unsalted butter, melted
For the Coating:
- 1/2 cup granulated sugar
- 1 tablespoon ground cinnamon
For the Filling (Optional):
- Dulce de leche or chocolate spread
Equipment:
- Muffin tin
- Rolling pin
- Pastry brush
- Oven
- Sharp knife or kitchen scissors
- Clean surface for rolling
Ingredient Tips:
- Puff pastry: You can find this in the frozen section of most grocery stores. Let it thaw in the fridge overnight or at room temperature for 30–40 minutes.
- Butter: Use unsalted butter to control the saltiness of your final product. You’ll be brushing this on both before baking and after for the cinnamon sugar coating.
- Cinnamon sugar: A 1:8 ratio of cinnamon to sugar creates a bold but balanced flavor.
- Fillings: Choose a high-quality dulce de leche or a thick chocolate spread like hazelnut or dark chocolate for best results. You can also use fruit preserves or a flavored cream cheese.
Instructions
1. Preheat the Oven
Preheat your oven to 375°F (190°C). Grease a muffin tin well with butter or nonstick spray. This helps the cruffins release easily and gives them crisp edges.
2. Prepare the Puff Pastry
On a lightly floured surface, roll out the puff pastry just enough to smooth out any creases or folds. The goal isn’t to make it thinner—just to create an even surface.
Using a pastry brush, apply a generous layer of melted butter across the entire surface of the puff pastry.
3. Roll and Slice
Starting from one end (either the shorter or longer side depending on how tall or wide you want your cruffins), tightly roll the puff pastry into a log.
Use a sharp knife or kitchen scissors to cut the log into 1-inch slices. You should get 6 to 8 slices from one sheet.
4. Shape the Cruffins
Take each slice and gently twist it, as if you were wringing out a towel. This helps expose the buttery layers and gives the cruffins their characteristic swirled top.
Place each twisted slice into a greased muffin cavity, cut side facing up.
5. Bake
Bake for 20 to 25 minutes, or until the cruffins are puffed up and golden brown on top. They should have a firm exterior with visible layers and a slight spring when pressed.
6. Prepare the Cinnamon Sugar Coating
While the cruffins bake, mix the granulated sugar and ground cinnamon in a shallow bowl. Melt a little extra butter to brush on the cruffins after baking.
7. Coat the Cruffins
Allow the cruffins to cool in the tin for 5–10 minutes, just until they’re safe to handle but still warm. Use a pastry brush to coat each cruffin with melted butter, then roll in the cinnamon sugar until evenly coated.
8. Optional Filling
If using a filling, transfer it to a piping bag or zip-top bag with the corner snipped off. Insert the tip into the center of each cruffin and gently squeeze in the filling. Don’t overfill—just enough to add a creamy surprise inside.
Notes
What if my puff pastry tears or sticks?
Work with lightly floured hands and a floured surface. If the dough starts to stick or become too soft, chill it in the fridge for 10 minutes before continuing.
How do I know when they’re done baking?
The tops will be deep golden brown, and the layers will have visibly puffed. If unsure, gently lift one cruffin and check the bottom—if it’s browned and crisp, they’re ready.
What if the tops brown too quickly?
You can loosely cover the muffin tin with foil in the last 5–7 minutes of baking to prevent over-browning while the centers continue to cook.
Can I prep these in advance?
Yes. Assemble the cruffins and store them in the muffin tin in the fridge, covered, for up to 12 hours before baking. This is great for making them the night before a brunch.
Kitchen Tips:
- Always keep puff pastry cold. It puffs best when cold going into a hot oven.
- Use a serrated knife to slice the dough cleanly without squishing the layers.
- If you don’t have a muffin tin, you can bake these in ramekins or on a baking sheet, though they’ll spread more.
- Prep Time: 15 minutes
- Cook Time: 25 minutes
Churro cruffins are the perfect recipe for beginners because they don’t require any complicated techniques or specialty equipment. You don’t need to knead dough, measure yeast, or master lamination. Instead, this recipe leans on store-bought puff pastry for ease and accessibility. These cruffins look impressive, taste indulgent, and feel homemade—all without hours of labor. They’re also incredibly customizable. Want them plain and simple? No problem. Want to fill them with dulce de leche or chocolate? Go for it. This flexibility, combined with their simplicity and delicious flavor, makes churro cruffins an ideal recipe for beginner bakers ready to build their confidence in the kitchen.
Ingredients and Preparation
Here’s everything you’ll need to make a batch of churro cruffins. The ingredients are simple, but the results are anything but.
For the Dough:
- 1 sheet puff pastry, thawed
- 1/4 cup unsalted butter, melted
For the Coating:
- 1/2 cup granulated sugar
- 1 tablespoon ground cinnamon
For the Filling (Optional):
- Dulce de leche or chocolate spread
Equipment:
- Muffin tin
- Rolling pin
- Pastry brush
- Oven
- Sharp knife or kitchen scissors
- Clean surface for rolling
Ingredient Tips:
- Puff pastry: You can find this in the frozen section of most grocery stores. Let it thaw in the fridge overnight or at room temperature for 30–40 minutes.
- Butter: Use unsalted butter to control the saltiness of your final product. You’ll be brushing this on both before baking and after for the cinnamon sugar coating.
- Cinnamon sugar: A 1:8 ratio of cinnamon to sugar creates a bold but balanced flavor.
- Fillings: Choose a high-quality dulce de leche or a thick chocolate spread like hazelnut or dark chocolate for best results. You can also use fruit preserves or a flavored cream cheese.
Step-by-Step Instructions
Let’s break this down into easy, manageable steps. Even if you’ve never baked before, these instructions will guide you from start to finish with confidence.
1. Preheat the Oven
Preheat your oven to 375°F (190°C). Grease a muffin tin well with butter or nonstick spray. This helps the cruffins release easily and gives them crisp edges.
2. Prepare the Puff Pastry
On a lightly floured surface, roll out the puff pastry just enough to smooth out any creases or folds. The goal isn’t to make it thinner—just to create an even surface.
Using a pastry brush, apply a generous layer of melted butter across the entire surface of the puff pastry.
3. Roll and Slice
Starting from one end (either the shorter or longer side depending on how tall or wide you want your cruffins), tightly roll the puff pastry into a log.
Use a sharp knife or kitchen scissors to cut the log into 1-inch slices. You should get 6 to 8 slices from one sheet.
4. Shape the Cruffins
Take each slice and gently twist it, as if you were wringing out a towel. This helps expose the buttery layers and gives the cruffins their characteristic swirled top.
Place each twisted slice into a greased muffin cavity, cut side facing up.
5. Bake
Bake for 20 to 25 minutes, or until the cruffins are puffed up and golden brown on top. They should have a firm exterior with visible layers and a slight spring when pressed.
6. Prepare the Cinnamon Sugar Coating
While the cruffins bake, mix the granulated sugar and ground cinnamon in a shallow bowl. Melt a little extra butter to brush on the cruffins after baking.
7. Coat the Cruffins
Allow the cruffins to cool in the tin for 5–10 minutes, just until they’re safe to handle but still warm. Use a pastry brush to coat each cruffin with melted butter, then roll in the cinnamon sugar until evenly coated.
8. Optional Filling
If using a filling, transfer it to a piping bag or zip-top bag with the corner snipped off. Insert the tip into the center of each cruffin and gently squeeze in the filling. Don’t overfill—just enough to add a creamy surprise inside.
Beginner Tips and Notes
What if my puff pastry tears or sticks?
Work with lightly floured hands and a floured surface. If the dough starts to stick or become too soft, chill it in the fridge for 10 minutes before continuing.
How do I know when they’re done baking?
The tops will be deep golden brown, and the layers will have visibly puffed. If unsure, gently lift one cruffin and check the bottom—if it’s browned and crisp, they’re ready.
What if the tops brown too quickly?
You can loosely cover the muffin tin with foil in the last 5–7 minutes of baking to prevent over-browning while the centers continue to cook.
Can I prep these in advance?
Yes. Assemble the cruffins and store them in the muffin tin in the fridge, covered, for up to 12 hours before baking. This is great for making them the night before a brunch.
Kitchen Tips:
- Always keep puff pastry cold. It puffs best when cold going into a hot oven.
- Use a serrated knife to slice the dough cleanly without squishing the layers.
- If you don’t have a muffin tin, you can bake these in ramekins or on a baking sheet, though they’ll spread more.

Serving Suggestions
Churro cruffins are best enjoyed warm, either fresh from the oven or reheated slightly. Here are a few ways to serve them:
- Classic and simple: Serve with coffee or tea as a mid-morning snack or light dessert.
- Brunch centerpiece: Pair with fresh fruit, scrambled eggs, and a protein like chicken sausage or grilled beef strips for a well-rounded brunch.
- Dessert platter: Serve with dipping sauces like caramel, warm chocolate ganache, or vanilla cream.
- Kid-friendly treat: Skip the filling and serve with a glass of milk or a warm fruit compote on the side.
Storage Tips:
- Store leftovers in an airtight container at room temperature for up to 2 days.
- Reheat in a 300°F (150°C) oven for 5–7 minutes to refresh the crispness.
- Avoid microwaving if possible—it softens the pastry and can make it chewy.
- If filled, refrigerate leftovers and reheat gently in the oven.
Engagement Features
There’s something magical about a recipe that feels indulgent but is easy enough to whip up on a whim. Churro cruffins are that kind of magic—no special training, no intimidating ingredients, just pure joy in every bite. Whether you’re looking to impress friends at a gathering or simply treat yourself on a quiet afternoon, this recipe is a great place to start building baking confidence.
The beauty of this recipe is that it’s nearly foolproof and endlessly adaptable. Don’t be afraid to experiment with different fillings or even flavored sugars. Try adding orange zest to the cinnamon sugar for a citrusy twist, or swap in a maple glaze for a fall-friendly vibe.
Give these cruffins a try and see how easy it is to bring a little bakery-style luxury into your own kitchen. If you make them, I’d love to hear how they turned out—what fillings you tried, whether you added your own twist, and what you served them with. Drop your experience in the comments or share a photo of your batch. Happy baking!