Homemade Fruit Popsicles: A Refreshing and Fun Summer Treat for All Ages
There’s something magical about homemade fruit popsicles. Whether it’s the vibrant colors, the refreshing taste, or the joy of crafting them yourself, these frozen treats bring happiness with every bite. I remember the first time I made fruit popsicles with my little cousins on a scorching summer afternoon. Their eyes lit up as they picked their favorite fruits, carefully placing them in the molds, excitedly waiting for the freezing process to work its magic. When the popsicles were finally ready, the smiles on their faces made it all worthwhile.
Print
Homemade Fruit Popsicles: A Refreshing and Fun Summer Treat for All Ages
Nothing beats the summer heat like Homemade Fruit Popsicles! 🍓🍊🍉 These vibrant, juicy, and naturally sweet frozen treats are made with real fruit—no artificial flavors, just pure deliciousness! 💖 They’re fun, colorful, and perfect for cooling down on a hot day. ☀️ Plus, they’re incredibly easy to make at home—just blend, pour, and freeze! 🥳 A healthy, refreshing snack that everyone will love! 😍 Which flavor combo will you try first? 🍍🍒 #FrozenDelights #HealthyPopsicles #DIYFrozenTreats #CoolOff #FruitLovers #EasyAndDelicious #HomemadeGoodness #KidApproved #NaturallySweet #RefreshingBites 🍦
- Total Time: 55 minutes
- Yield: 10 servings
Ingredients
For the Lemonade
- ¾ cup granulated sugar (can substitute with honey or maple syrup for a natural sweetener)
- 1 cup water
- 1 cup fresh lemon juice (or lime juice for a citrus twist)
- 4–6 cups cold water (to adjust sweetness to your liking)
For the Roasted Strawberries (optional but enhances flavor)
- 1 pound fresh strawberries, stems removed and halved
- 2 tablespoons granulated sugar (or honey for a natural option)
Instructions
1. Prepare the Lemonade
- In a small saucepan, bring 1 cup of water and sugar to a low boil. Reduce to a simmer, stirring constantly, until the sugar dissolves completely.
- Remove from heat and transfer the simple syrup and fresh lemon juice to a large pitcher.
- Dilute with 4-6 cups of cold water, adjusting based on your preferred sweetness. If you like it tangier, use less water; for a milder taste, add more.
2. Roast the Strawberries (Optional But Recommended)
- Preheat your oven to 350°F (175°C) and line a baking sheet with parchment paper.
- Toss the sliced strawberries with sugar and spread them evenly on the lined baking sheet.
- Roast for 25-30 minutes, stirring halfway through. The strawberries will become soft, juicy, and intensely flavorful.
- Let them cool before adding them to the popsicles.
3. Prepare Additional Fruits
- While the strawberries are roasting, prepare the rest of your fresh fruits by slicing them into small, even pieces.
- Get creative by cutting some into fun shapes like stars or flowers using small cookie cutters.
4. Assemble the Popsicles
- Take your popsicle molds and fill each one about ⅓ full with lemonade.
- Drop in a few pieces of fruit, making sure they’re spread out for a visually appealing look.
- Add another ⅓ layer of lemonade and more fruit.
- Finally, fill the molds completely with lemonade and top off with any remaining fruit.
- Insert the popsicle sticks and place the molds in the freezer for at least 4-8 hours. For best results, freeze overnight.
5. Unmold and Enjoy
- To easily remove the popsicles, run the molds under warm water for about 10 seconds. They should slide right out.
- Serve immediately and enjoy!
Notes
- Sweetness Control: If you prefer less sugar, reduce the amount of sweetener in the lemonade or use naturally sweet fruit like mango or ripe peaches.
- Roasting Strawberries: This step enhances their natural sweetness and adds depth of flavor, but if you’re short on time, fresh strawberries work just fine.
- Mold Alternatives: If you don’t have popsicle molds, small paper cups and wooden sticks work as a great substitute.
- Faster Freezing: If you’re in a hurry, set your freezer to its coldest setting to speed up the freezing process.
- Avoiding Ice Crystals: To get a smoother texture, try using a mix of fruit juices instead of plain water for the lemonade.
- Storage Tips: Keep leftover popsicles in an airtight container in the freezer for up to 2 weeks for the best taste.
- Prep Time: 20 minutes
- Cook Time: 35 minutes
Making your own fruit popsicles at home is one of the easiest and most satisfying ways to enjoy a delicious frozen treat without relying on store-bought options filled with artificial flavors and preservatives. The best part? You don’t need any fancy equipment—just a popsicle mold (or even simple cups), some fresh fruit, and your favorite homemade lemonade. These popsicles are perfect for kids and adults alike, providing a naturally sweet and refreshing way to cool down on hot days.
If you’re new to making frozen treats, don’t worry! This recipe is simple, forgiving, and fun to experiment with. Whether you love the tangy zest of lemons, the sweetness of summer berries, or the tropical flavor of mangoes, you can customize these popsicles to suit your taste. In this guide, I’ll walk you through the step-by-step process of creating the perfect fruit popsicles, along with helpful beginner tips, ingredient swaps, and serving suggestions to take them to the next level.
Why This Recipe is Perfect for Beginners
- Simple Ingredients – You only need fresh fruit, homemade or store-bought lemonade, and a little bit of sugar.
- Easy Steps – No complicated techniques or special equipment, just basic layering and freezing.
- Healthy and Customizable – Use your favorite fruits and control the sweetness to your preference.
- Kid-Friendly – Let the little ones help choose and arrange the fruit, making it a fun bonding activity.
Ingredients and Alternatives
For the Lemonade
- ¾ cup granulated sugar (can substitute with honey or maple syrup for a natural sweetener)
- 1 cup water
- 1 cup fresh lemon juice (or lime juice for a citrus twist)
- 4-6 cups cold water (to adjust sweetness to your liking)
For the Roasted Strawberries (optional but enhances flavor)
- 1 pound fresh strawberries, stems removed and halved
- 2 tablespoons granulated sugar (or honey for a natural option)
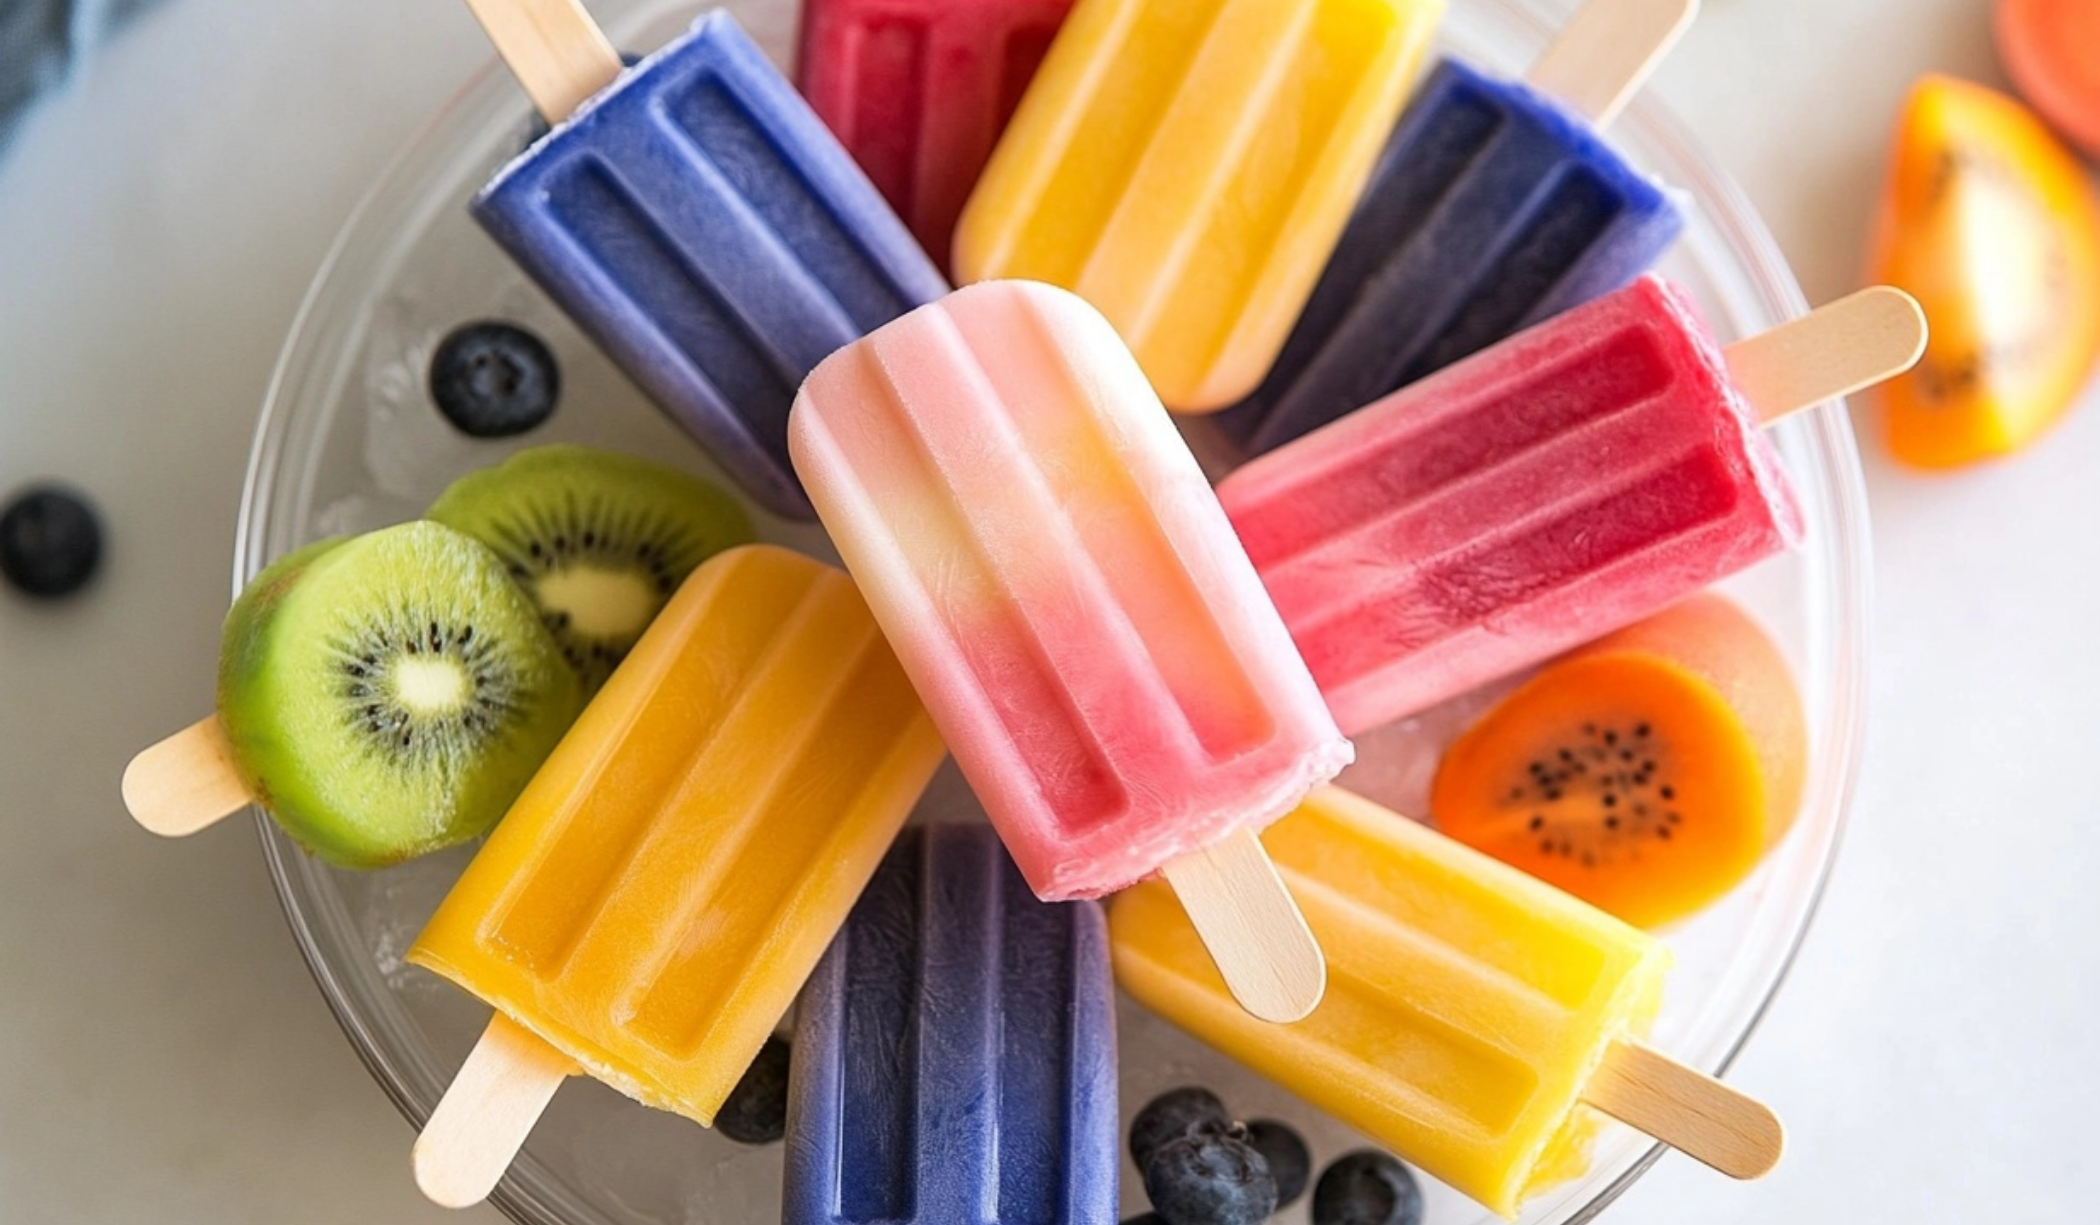
Other Fresh Fruit Options
- Kiwi, peeled and sliced
- Blueberries
- Peaches, thinly sliced
- Nectarines, thinly sliced
- Raspberries, blackberries, mango, or pineapple (feel free to mix and match based on preference)
Step-by-Step Instructions
1. Prepare the Lemonade
- In a small saucepan, bring 1 cup of water and sugar to a low boil. Reduce to a simmer, stirring constantly, until the sugar dissolves completely.
- Remove from heat and transfer the simple syrup and fresh lemon juice to a large pitcher.
- Dilute with 4-6 cups of cold water, adjusting based on your preferred sweetness. If you like it tangier, use less water; for a milder taste, add more.
2. Roast the Strawberries (Optional But Recommended)
- Preheat your oven to 350°F (175°C) and line a baking sheet with parchment paper.
- Toss the sliced strawberries with sugar and spread them evenly on the lined baking sheet.
- Roast for 25-30 minutes, stirring halfway through. The strawberries will become soft, juicy, and intensely flavorful.
- Let them cool before adding them to the popsicles.
3. Prepare Additional Fruits
- While the strawberries are roasting, prepare the rest of your fresh fruits by slicing them into small, even pieces.
- Get creative by cutting some into fun shapes like stars or flowers using small cookie cutters.
4. Assemble the Popsicles
- Take your popsicle molds and fill each one about ⅓ full with lemonade.
- Drop in a few pieces of fruit, making sure they’re spread out for a visually appealing look.
- Add another ⅓ layer of lemonade and more fruit.
- Finally, fill the molds completely with lemonade and top off with any remaining fruit.
- Insert the popsicle sticks and place the molds in the freezer for at least 4-8 hours. For best results, freeze overnight.
5. Unmold and Enjoy
- To easily remove the popsicles, run the molds under warm water for about 10 seconds. They should slide right out.
- Serve immediately and enjoy!
Beginner Tips and Notes
- Sweetness Control: If you prefer less sugar, reduce the amount of sweetener in the lemonade or use naturally sweet fruit like mango or ripe peaches.
- Roasting Strawberries: This step enhances their natural sweetness and adds depth of flavor, but if you’re short on time, fresh strawberries work just fine.
- Mold Alternatives: If you don’t have popsicle molds, small paper cups and wooden sticks work as a great substitute.
- Faster Freezing: If you’re in a hurry, set your freezer to its coldest setting to speed up the freezing process.
- Avoiding Ice Crystals: To get a smoother texture, try using a mix of fruit juices instead of plain water for the lemonade.
- Storage Tips: Keep leftover popsicles in an airtight container in the freezer for up to 2 weeks for the best taste.

Serving Suggestions
- With Yogurt Dip: Serve your popsicles with a side of Greek yogurt mixed with honey for a creamy contrast.
- Blended into Slushies: Break a popsicle into a blender with a little extra lemonade for a refreshing summer slush.
- Paired with Other Treats: Enjoy alongside fruit salads or homemade granola for a balanced, refreshing snack.
- Layered in a Dessert Cup: Chop the popsicles into chunks and serve them over vanilla ice cream or coconut whipped cream.
Why You’ll Love These Popsicles
These homemade fruit popsicles are more than just a cool snack—they’re a fun, easy, and healthy way to enjoy fresh fruit in a whole new way. Whether you’re making them for kids or yourself, they’re a guaranteed crowd-pleaser. Plus, they allow you to get creative with flavors, shapes, and combinations. The best part? They’re naturally refreshing without artificial ingredients or preservatives.
Final Thoughts: Try It and Share Your Experience!
Making homemade fruit popsicles is a simple yet rewarding kitchen adventure that anyone can enjoy. Whether you’re looking for a refreshing summer treat or a fun activity to do with kids, these popsicles check all the boxes. Have fun experimenting with different fruit combinations and share your favorite creations in the comments! I’d love to hear about your favorite flavor mixes or any creative twists you’ve tried. Happy popsicle making!