Homemade Chocolate Banana Ice Cream: A Rich, Creamy Frozen Delight for Beginners
There’s something undeniably comforting about a rich, creamy scoop of homemade ice cream. The smooth texture, the depth of flavor, and the satisfaction of knowing you made it yourself turn an ordinary dessert into something special. If you’ve always wanted to make your own ice cream but felt intimidated by complicated recipes and the need for an ice cream maker, this Chocolate Banana Ice Cream is the perfect solution. It’s incredibly easy to prepare, requires just a handful of ingredients, and doesn’t need any special equipment beyond a mixer or blender. The combination of chocolate and banana is a classic, bringing together the deep, luxurious taste of chocolate with the natural sweetness and creamy texture of bananas. The best part? It’s completely beginner-friendly. Whether you’re looking for a quick and satisfying dessert, a healthier alternative to store-bought ice cream, or simply a fun weekend project, this recipe is guaranteed to impress.
Print
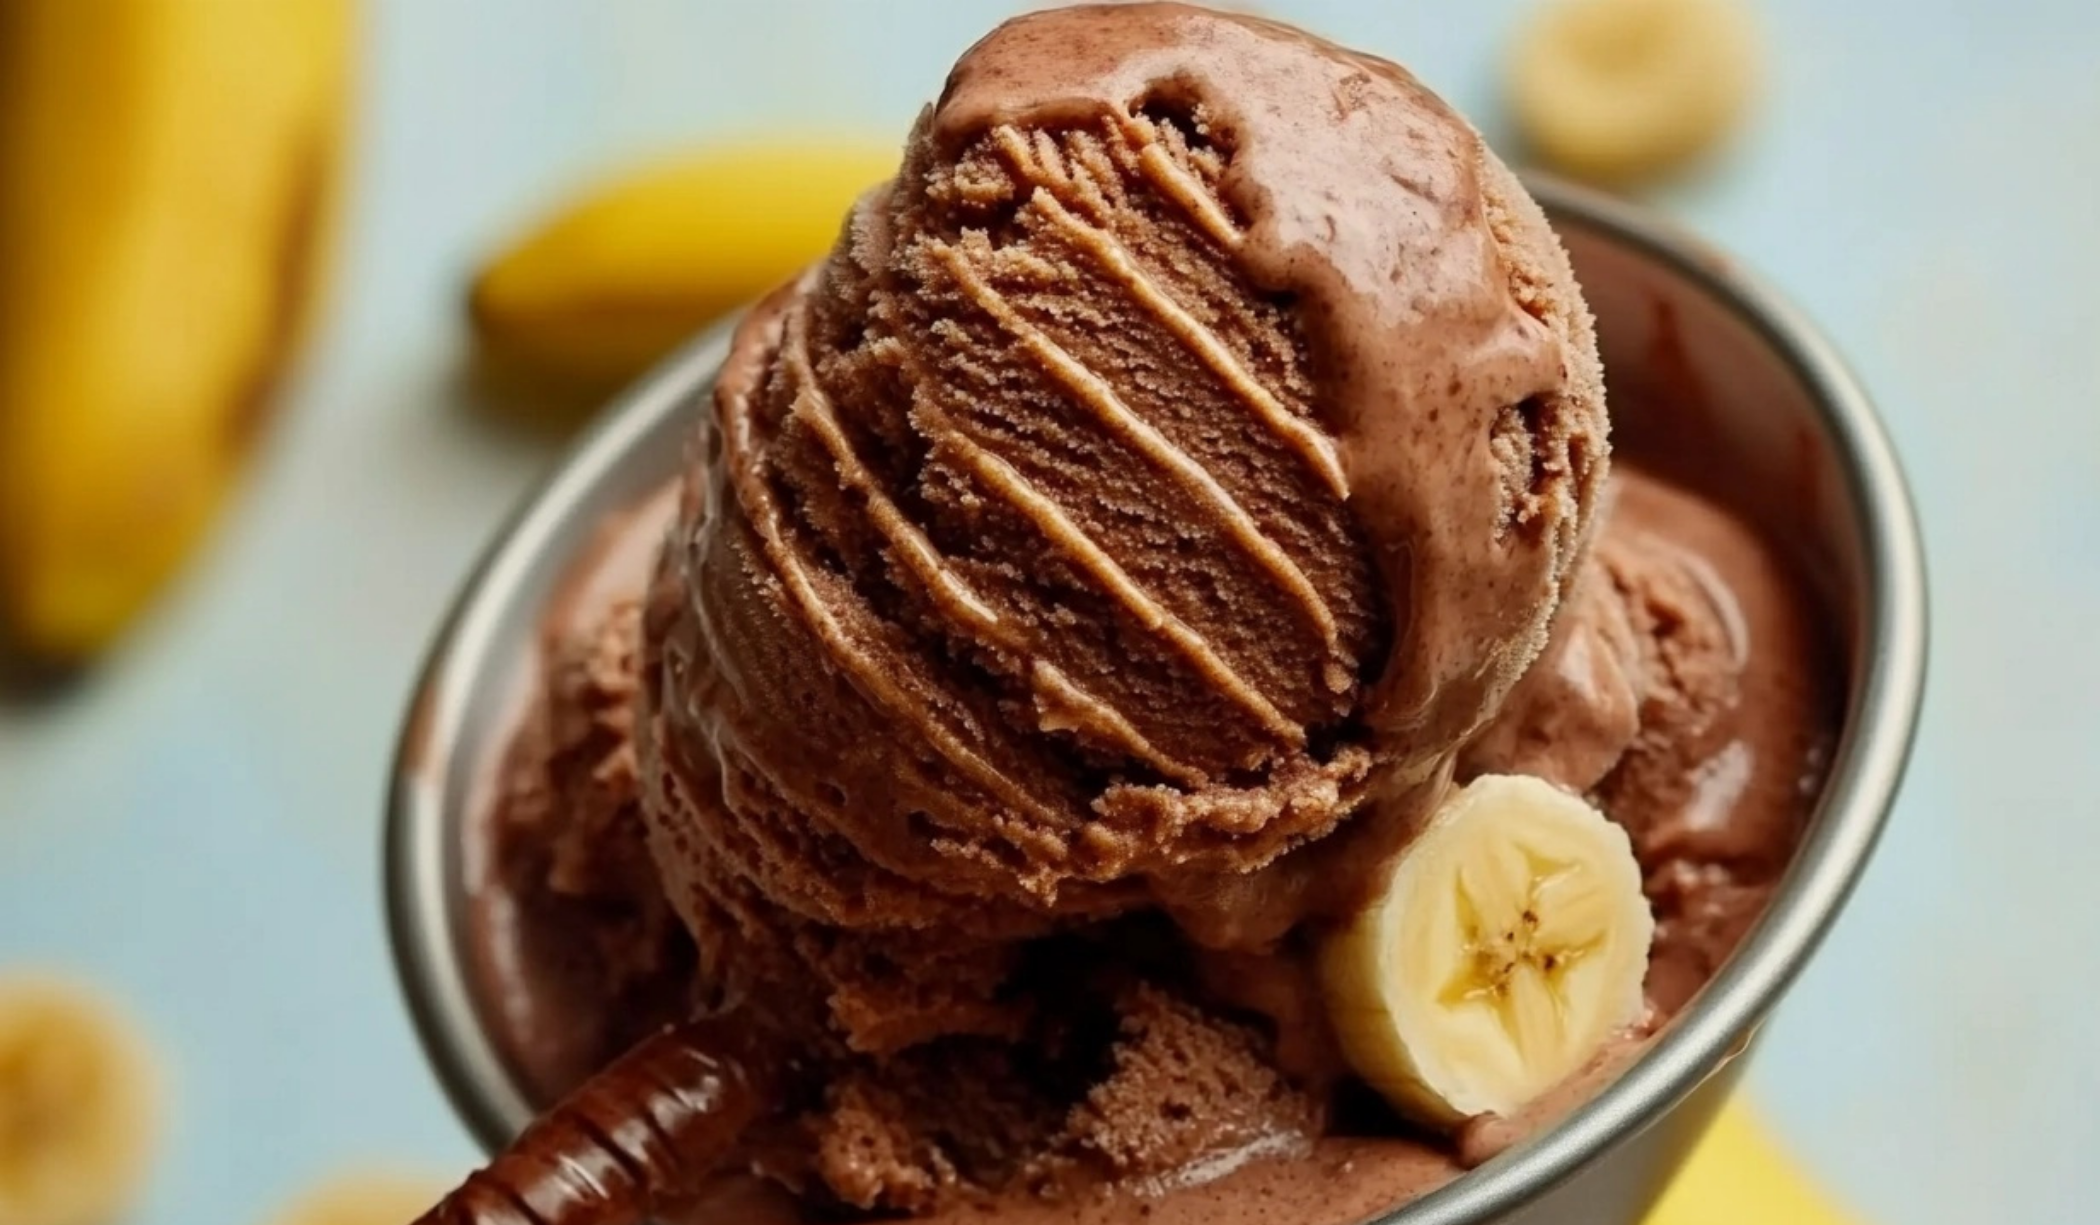
Homemade Chocolate Banana Ice Cream: A Rich, Creamy Frozen Delight for Beginners
Who knew homemade ice cream could be this easy? 🍫🍌 This Chocolate Banana Ice Cream is rich, creamy, and made with just a few simple ingredients—no ice cream maker needed! Perfect for beginners, this frozen treat is naturally sweet and full of chocolatey goodness. Whether you’re craving a guilt-free dessert or just love the combo of chocolate and banana, this is a must-try! Ready to scoop up some deliciousness? 😋❄️ #ChocolateBananaIceCream #NoChurnDessert #EasyTreats #FrozenDelight #BeginnerFriendly #HealthyIndulgence #HomemadeGoodness #SweetAndCreamy #IceCreamLovers #SimpleAndDelicious
- Total Time: 30 minutes
- Yield: 10 servings 1x
Ingredients
- 1 cup plus 2 tablespoons chocolate milk
- 1 cup chocolate chips
- 1 banana, cut into pieces
- 2 teaspoons rum extract (can be reduced to 1 teaspoon)
- 2 teaspoons vanilla extract (can be reduced to 1 teaspoon)
- 1 cup prepared whipped cream
Instructions
Step 1: Melt the Chocolate
- Fill a medium-sized pot with about an inch of water and bring it to a simmer over medium heat.
- Place a heatproof bowl over the pot, ensuring the bottom of the bowl does not touch the water.
- Add the chocolate milk and chocolate chips to the bowl. Stir occasionally until the chocolate is fully melted and the mixture is smooth.
- Remove from heat and let it cool slightly before proceeding to the next step.
Step 2: Blend the Ice Cream Base
- In a stand mixer or blender, combine the melted chocolate mixture, banana, rum extract, and vanilla extract.
- Blend until smooth and fully combined, ensuring that the banana is completely pureed.
Step 3: Fold in the Whipped Cream
- Gently fold the whipped cream into the chocolate mixture using a spatula. Be careful not to overmix, as you want to maintain the light and airy texture of the whipped cream.
- Continue folding until the mixture is smooth and fully incorporated.
Step 4: Freeze the Ice Cream
- Pour the ice cream mixture into a metal or plastic container. Metal containers freeze the mixture faster, but plastic works just as well.
- Cover with plastic wrap, pressing it directly onto the surface to prevent ice crystals from forming.
- Place in the freezer for at least 4 hours, preferably overnight, to allow the flavors to develop and the ice cream to set properly.
Step 5: Serve and Enjoy
- Remove the ice cream from the freezer a few minutes before serving to allow it to soften slightly.
- Scoop into bowls or cones and enjoy!
Notes
- How to Tell When It’s Ready: The ice cream should be firm yet scoopable. If it’s too hard, let it sit at room temperature for a few minutes before serving.
- Preventing Ice Crystals: Pressing plastic wrap directly onto the surface of the ice cream before freezing helps prevent ice crystals from forming.
- For a Softer Texture: Stirring the ice cream every hour during the freezing process can help break up ice crystals, resulting in a creamier texture.
- Storage Tips: Store in an airtight container in the freezer for up to two weeks. If it becomes too hard, let it sit at room temperature for 5–10 minutes before scooping.
- Make it Dairy-Free: Replace chocolate milk with almond or coconut milk and use coconut cream instead of whipped cream.
- Prep Time: 15 minutes
- Cook Time: 15 minutes
Making ice cream at home often seems like a complicated task requiring hours of churning, monitoring temperatures, and using specialty equipment. However, this recipe eliminates all the hassle, making it accessible to anyone with a freezer. The process involves melting chocolate, blending the ingredients, folding in whipped cream for extra smoothness, and freezing the mixture until it sets. That’s it! No cooking thermometers, no egg tempering, and no long hours of waiting for a machine to churn. This recipe is also highly customizable—you can tweak the flavors, add mix-ins, or even adjust the sweetness to your liking. Since the base includes bananas, it naturally provides a creamy texture without the need for excessive dairy or stabilizers.
Bananas are a fantastic ingredient in homemade ice cream because they add natural sweetness while also helping achieve a velvety consistency. They blend beautifully with chocolate, creating a well-balanced dessert that isn’t overly sweet but still incredibly satisfying. If you have ripe bananas sitting on your counter, this is a fantastic way to use them up before they go bad. Unlike traditional ice cream, which often requires egg yolks to achieve richness, this no-churn recipe relies on whipped cream for an airy, smooth texture. The addition of rum extract and vanilla enhances the flavor, adding depth without overpowering the chocolate-banana combination.
This recipe is ideal for beginner cooks because it eliminates common ice cream-making challenges. There’s no risk of curdling eggs, no complicated custard-making process, and no need to invest in an ice cream maker. If you’ve ever hesitated to make homemade ice cream because of the effort involved, this is the perfect starting point. You’ll be amazed at how quickly you can whip up a batch of creamy, flavorful ice cream with minimal effort.
Ingredients and Preparation
Ingredients:
- 1 cup plus 2 tablespoons chocolate milk
- 1 cup chocolate chips
- 1 banana, cut into pieces
- 2 teaspoons rum extract (can be reduced to 1 teaspoon)
- 2 teaspoons vanilla extract (can be reduced to 1 teaspoon)
- 1 cup prepared whipped cream
Ingredient Alternatives:
- Chocolate Milk: If you don’t have chocolate milk, substitute with regular milk mixed with 2 tablespoons of cocoa powder and 1 tablespoon of sugar.
- Chocolate Chips: Dark chocolate, milk chocolate, or even white chocolate can be used depending on your preference. For a more intense chocolate flavor, opt for 70% cocoa dark chocolate.
- Banana: A frozen banana works just as well and can enhance the creaminess of the final ice cream.
- Rum Extract: If unavailable, almond extract or an extra dash of vanilla can be used instead.
- Whipped Cream: If you don’t have pre-made whipped cream, make your own by beating ½ cup of heavy cream with 1 teaspoon of sugar until fluffy.
Step-by-Step Instructions
Step 1: Melt the Chocolate
- Fill a medium-sized pot with about an inch of water and bring it to a simmer over medium heat.
- Place a heatproof bowl over the pot, ensuring the bottom of the bowl does not touch the water.
- Add the chocolate milk and chocolate chips to the bowl. Stir occasionally until the chocolate is fully melted and the mixture is smooth.
- Remove from heat and let it cool slightly before proceeding to the next step.
Step 2: Blend the Ice Cream Base
- In a stand mixer or blender, combine the melted chocolate mixture, banana, rum extract, and vanilla extract.
- Blend until smooth and fully combined, ensuring that the banana is completely pureed.
Step 3: Fold in the Whipped Cream
- Gently fold the whipped cream into the chocolate mixture using a spatula. Be careful not to overmix, as you want to maintain the light and airy texture of the whipped cream.
- Continue folding until the mixture is smooth and fully incorporated.
Step 4: Freeze the Ice Cream
- Pour the ice cream mixture into a metal or plastic container. Metal containers freeze the mixture faster, but plastic works just as well.
- Cover with plastic wrap, pressing it directly onto the surface to prevent ice crystals from forming.
- Place in the freezer for at least 4 hours, preferably overnight, to allow the flavors to develop and the ice cream to set properly.
Step 5: Serve and Enjoy
- Remove the ice cream from the freezer a few minutes before serving to allow it to soften slightly.
- Scoop into bowls or cones and enjoy!
Beginner Tips and Troubleshooting
- How to Tell When It’s Ready: The ice cream should be firm yet scoopable. If it’s too hard, let it sit at room temperature for a few minutes before serving.
- Preventing Ice Crystals: Pressing plastic wrap directly onto the surface of the ice cream before freezing helps prevent ice crystals from forming.
- For a Softer Texture: Stirring the ice cream every hour during the freezing process can help break up ice crystals, resulting in a creamier texture.
- Storage Tips: Store in an airtight container in the freezer for up to two weeks. If it becomes too hard, let it sit at room temperature for 5–10 minutes before scooping.
- Make it Dairy-Free: Replace chocolate milk with almond or coconut milk and use coconut cream instead of whipped cream.
Serving Suggestions
- With Toppings: Enhance the flavor with chopped nuts, chocolate shavings, caramel sauce, or a sprinkle of sea salt.
- As an Ice Cream Sandwich: Pair with cookies or brownies to make homemade ice cream sandwiches.
- With Fresh Fruit: Serve alongside sliced bananas, strawberries, or raspberries for a refreshing contrast.
- Drizzled with Sauce: Chocolate sauce, peanut butter drizzle, or a caramel swirl can take this ice cream to the next level.

Why This Recipe Works for Beginners
- Minimal Ingredients: With only a few ingredients, it’s easy to assemble and customize.
- No Special Equipment: A blender or stand mixer is all you need—no ice cream maker required.
- Foolproof Method: Since there’s no custard-making process, there’s no risk of overcooking or curdling eggs.
- Quick Prep Time: The actual hands-on time is under 30 minutes, making it convenient for busy schedules.
- Versatile and Customizable: The flavors can be adjusted easily, and mix-ins like nuts or chocolate chunks can be added for texture.
Conclusion
Homemade ice cream doesn’t have to be complicated, and this Chocolate Banana Ice Cream is proof that you can create a rich, creamy frozen dessert with minimal effort. The combination of chocolate and banana delivers a well-balanced flavor that’s both indulgent and refreshing. With a simple, no-churn method and easily accessible ingredients, this recipe is an excellent choice for beginner cooks looking to expand their skills in homemade desserts. Whether you’re making it for a special occasion, a fun weekend treat, or simply to satisfy a chocolate craving, this ice cream is sure to be a hit. Try it out, experiment with toppings, and let us know how it turned out for you!


