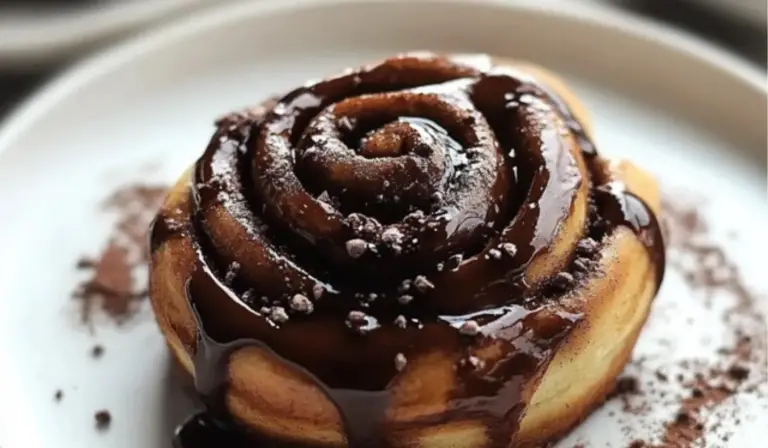
Cheese Danishes
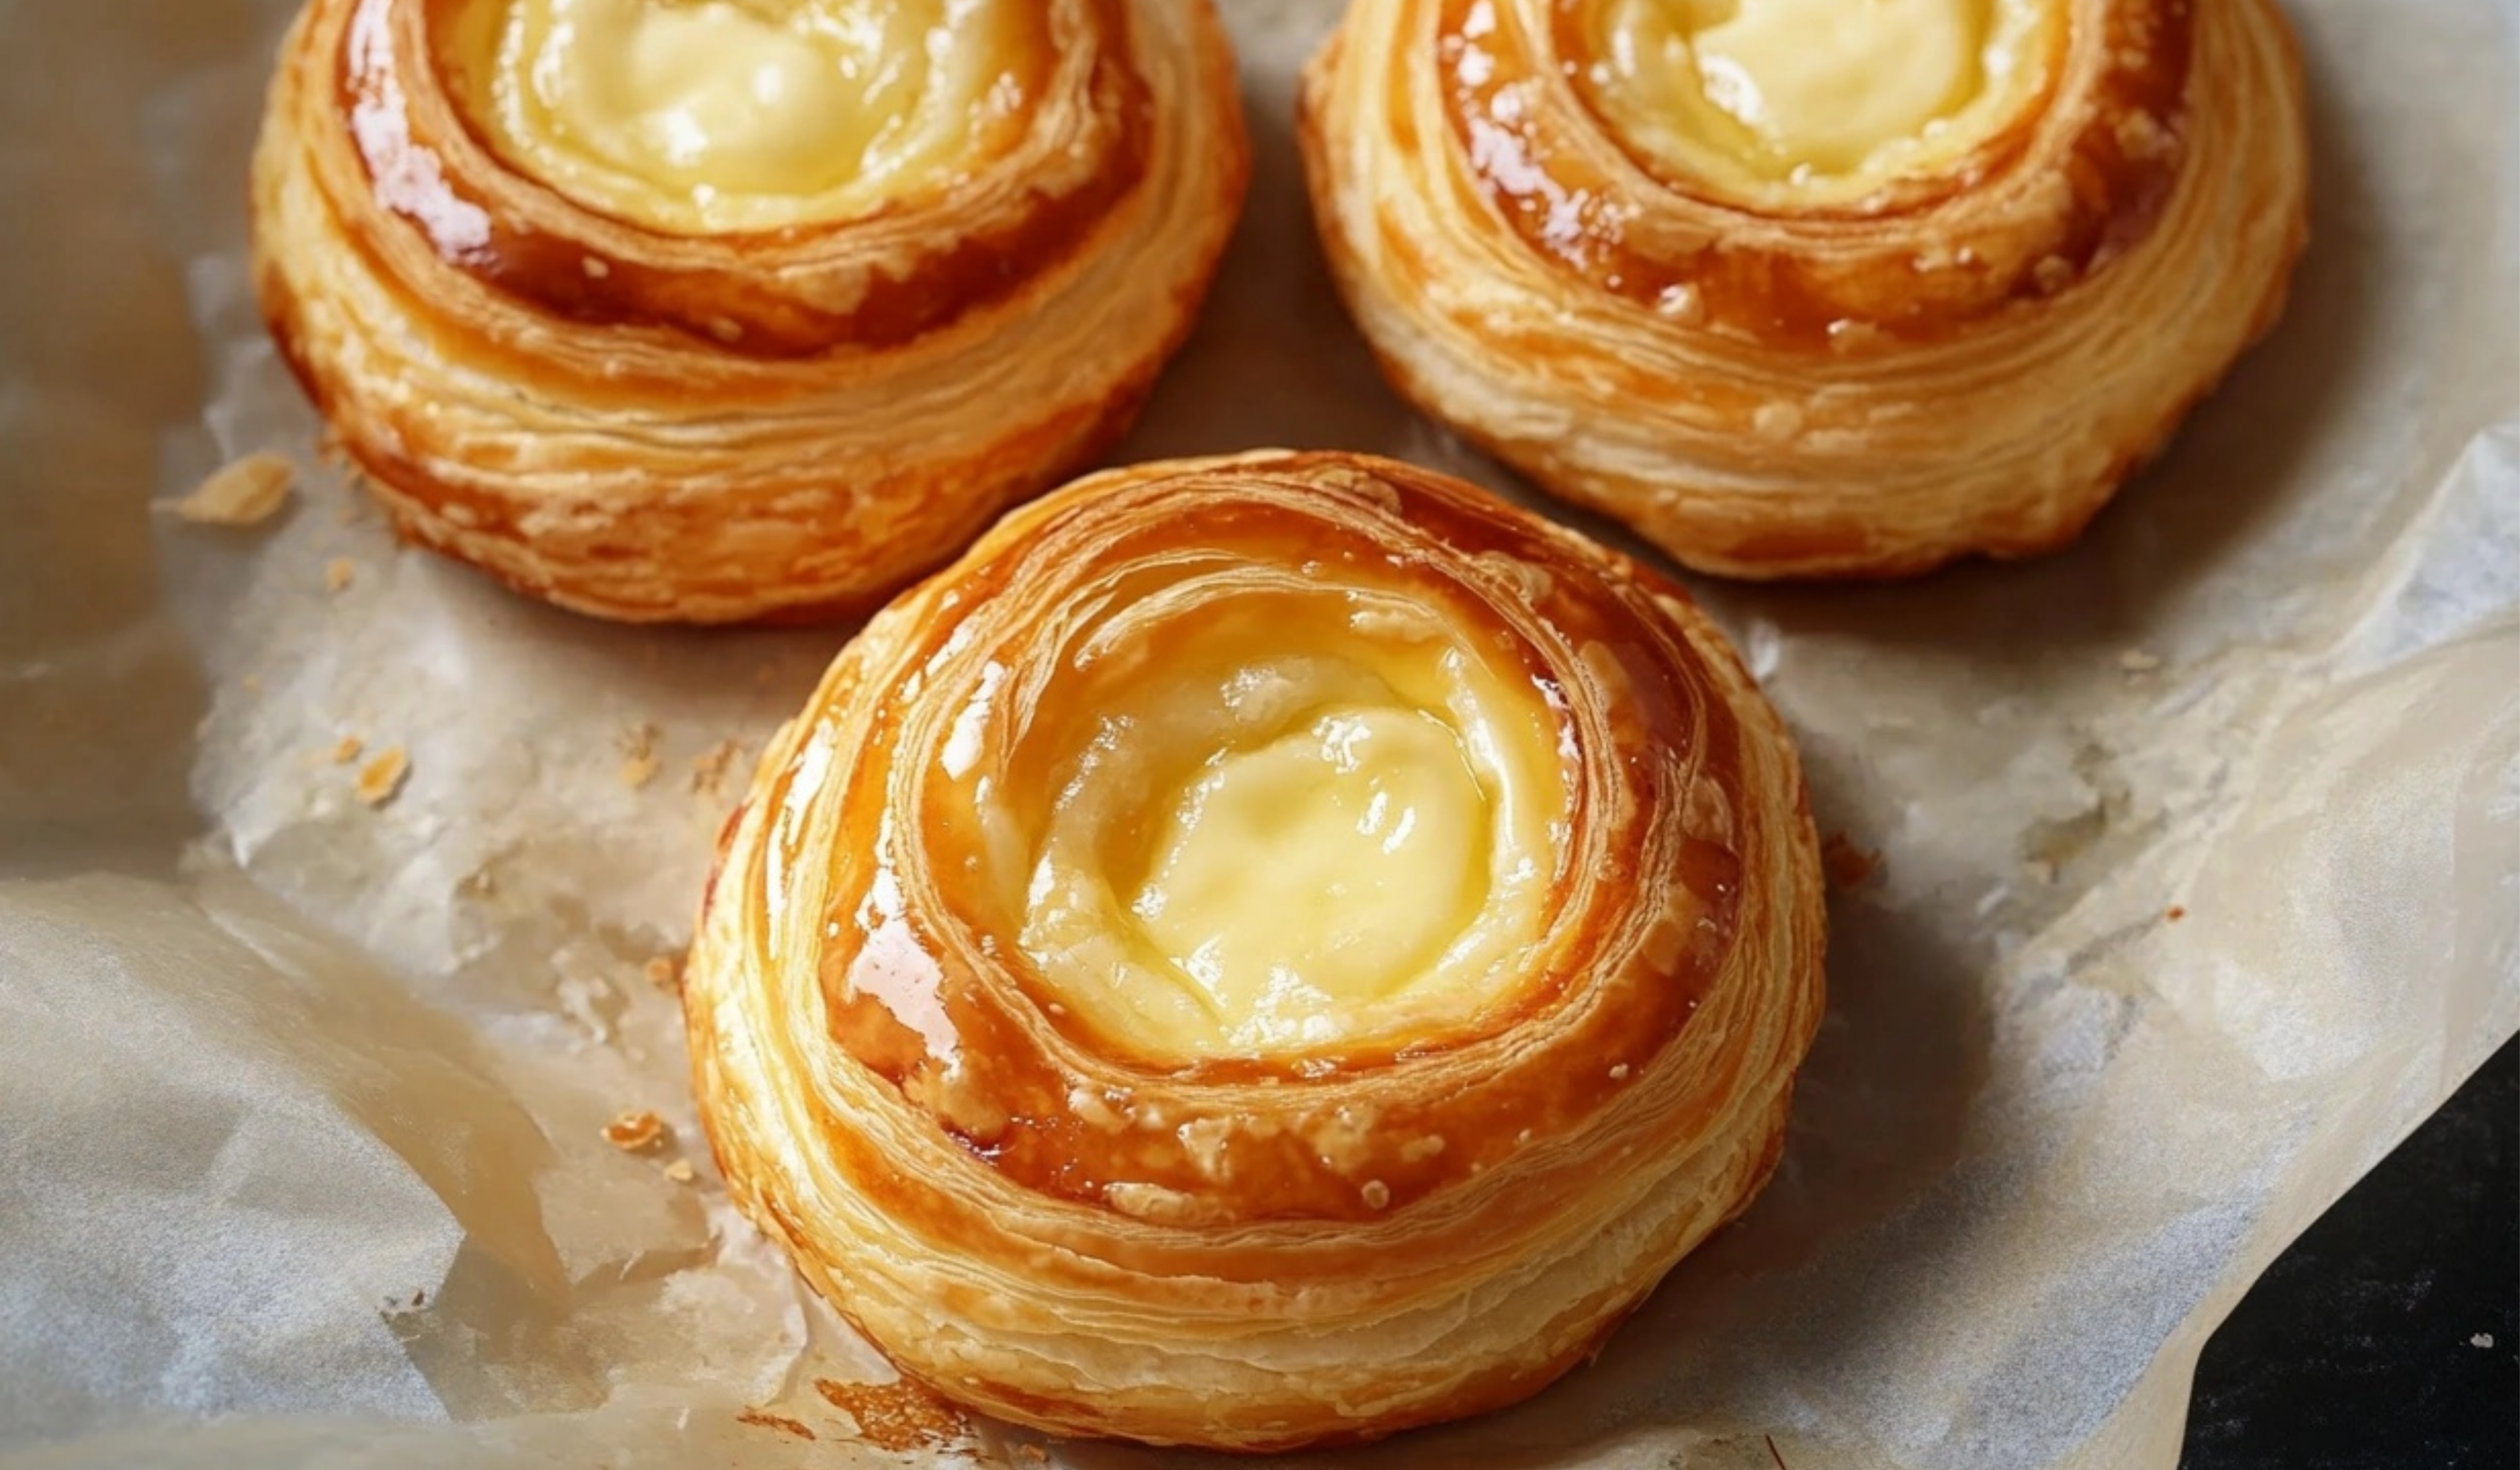
Nothing compares to a freshly baked cheese Danish, with its golden, flaky crust and sweet, creamy filling. The combination of rich cream cheese and buttery crescent dough is simply irresistible. Whether you’re treating yourself to breakfast or preparing a brunch spread, these Cheese Danishes bring a touch of bakery-style delight to your kitchen with minimal effort. With only a few ingredients, you can create a dreamy, melt-in-your-mouth treat that will satisfy your cravings and impress your family or guests.
Print
Cheese Danishes
🧀🥐 Flaky, cheesy, and oh-so-delicious! These Cheese Danishes are the perfect combination of buttery, golden pastry and creamy, tangy cheese filling. 😍💫 Each bite is a delightful balance of rich, savory goodness and sweet, flaky layers—perfect for breakfast, brunch, or a sweet snack. 🍽️✨ You won’t be able to stop at just one!
#CheeseDanishes #PastryPerfection #FlakyGoodness #BreakfastTreats #SavoryAndSweet #DanishDelight #BakingJoy #MorningIndulgence #FoodieFavorites #GoldenPerfection 🧀🥐✨
- Total Time: 28 minutes
Ingredients
Danish Components
- Crescent Rolls: The foundation of these Cheese Danishes is two tubes of crescent rolls. The dough is pre-made and easy to handle, giving you the soft, flaky texture you want in a Danish without the time and effort of making dough from scratch.
- Cream Cheese: Make sure the cream cheese is at room temperature for the smoothest consistency when mixing with the other ingredients. It gives the filling its signature creamy, slightly tangy flavor.
- Granulated White Sugar: This adds sweetness to the cream cheese filling, making it the perfect balance to the rich, buttery dough.
- Pure Vanilla Extract: Vanilla enhances the flavor of the cream cheese filling, adding depth and complexity.
- Salted Butter: Melted butter is brushed onto the crescent rolls to ensure a rich, golden-brown finish and a buttery flavor.
- Light Brown Sugar: Brown sugar adds sweetness and a subtle caramelized flavor that pairs beautifully with the cream cheese.
Glaze Components
- Powdered Sugar: This makes the glaze smooth and sweet, perfect for drizzling over the warm danishes.
- Pure Vanilla Extract: A touch of vanilla in the glaze ties the flavors of the Danish together.
- Milk: A small amount of milk helps to thin the glaze to the perfect consistency, making it easy to drizzle over the danishes.
Instructions
1. Preheat the Oven
Start by preheating your oven to 350°F (177°C). This will ensure that your danishes bake evenly and get that golden-brown finish.
2. Prepare the Cream Cheese Filling
In a medium-sized mixing bowl, combine the room temperature cream cheese, white sugar, and vanilla extract. Use a hand mixer or a whisk to blend these ingredients until the mixture is smooth and uniform. The result should be a creamy, sweet filling that will spread easily onto the dough.
3. Prepare the Crescent Dough
Unroll the two tubes of crescent dough. Each tube contains eight triangles, but for the Danish shape, you’ll want to press the perforations together to form rectangles. You should have a total of eight rectangular pieces.
4. Add the Butter and Brown Sugar
Brush the melted butter generously over the surface of each crescent dough rectangle. This adds flavor and helps to brown the dough. Sprinkle about 1 tablespoon of brown sugar onto each rectangle. The brown sugar will caramelize as the danishes bake, creating a deliciously sweet and slightly crispy exterior.
5. Shape the Danishes
Next, roll each rectangle from the long side to form a coil. Seal the edges to ensure the filling stays inside. Once rolled, gently curve each coil into a circular shape and pinch the ends together to form a round shape.
6. Fill the Danishes with Cream Cheese Mixture
Place the prepared coils on a baking sheet that has been sprayed with nonstick spray. Spoon about 2 tablespoons of the cream cheese mixture into the center of each coil. Be careful not to overfill, as the filling may spill out during baking.
7. Bake the Danishes
Place the baking sheet in the preheated oven and bake the danishes for 15-18 minutes, or until they are golden brown and the dough is fully cooked. Keep an eye on them toward the end to avoid over-baking.
8. Prepare the Glaze
While the danishes are baking, make the glaze by whisking together the powdered sugar, vanilla extract, and milk in a small bowl. Stir until the glaze is smooth and has a pourable consistency. If you prefer a thicker glaze, simply add more powdered sugar. If you like a thinner glaze, add a little more milk.
9. Glaze the Danishes
Once the danishes are out of the oven and have cooled for a few minutes, drizzle the glaze over the warm danishes. The glaze will soak into the danish, adding a perfect sweetness that complements the cream cheese filling.
Notes
- Use Room Temperature Cream Cheese: Cold cream cheese can result in a lumpy filling. Make sure your cream cheese is soft and easy to mix before adding the other ingredients.
- Seal the Dough Well: Ensure the edges of the crescent dough are sealed tightly to keep the filling from spilling out during baking.
- Don’t Overfill: It can be tempting to load up on the cream cheese filling, but be sure to use just enough so that it doesn’t overflow during baking.
- Customize the Filling: If you want to get creative, try adding a little lemon zest, cinnamon, or nutmeg to the cream cheese filling for extra flavor.
- Make Ahead: You can prepare the danishes and refrigerate them (unbaked) the night before. When you’re ready to bake, just preheat the oven and bake as directed. This makes for an easy breakfast or brunch option.
- Prep Time: 10 minutes
- Cook Time: 18 minutes
This article will guide you through the simple steps to making the perfect Cheese Danishes, from the essential ingredients to tips for customizing the filling and glaze. Let’s dive in!
Why These Cheese Danishes are a Game-Changer
What makes these Cheese Danishes stand out? It’s all about simplicity and flavor. Using crescent roll dough instead of a more complicated pastry dough makes the recipe quicker and more approachable for home bakers. The cream cheese filling is the star of the show—its sweet and slightly tangy flavor pairs perfectly with the buttery, flaky dough. The addition of brown sugar gives the danishes a delicious caramelized finish, while a vanilla glaze drizzled on top adds the perfect touch of sweetness.
This recipe is ideal for when you want a breakfast or dessert that tastes like it’s straight from a bakery but doesn’t require hours of preparation. If you’re looking for a quick yet decadent treat, these Cheese Danishes are the way to go.
The Ingredients: What You Need to Make Cheese Danishes
While these Cheese Danishes are incredibly simple to make, each ingredient plays an essential role in achieving the perfect balance of texture and flavor. Let’s take a look at what you’ll need:
Danish Components
- Crescent Rolls: The foundation of these Cheese Danishes is two tubes of crescent rolls. The dough is pre-made and easy to handle, giving you the soft, flaky texture you want in a Danish without the time and effort of making dough from scratch.
- Cream Cheese: Make sure the cream cheese is at room temperature for the smoothest consistency when mixing with the other ingredients. It gives the filling its signature creamy, slightly tangy flavor.
- Granulated White Sugar: This adds sweetness to the cream cheese filling, making it the perfect balance to the rich, buttery dough.
- Pure Vanilla Extract: Vanilla enhances the flavor of the cream cheese filling, adding depth and complexity.
- Salted Butter: Melted butter is brushed onto the crescent rolls to ensure a rich, golden-brown finish and a buttery flavor.
- Light Brown Sugar: Brown sugar adds sweetness and a subtle caramelized flavor that pairs beautifully with the cream cheese.
Glaze Components
- Powdered Sugar: This makes the glaze smooth and sweet, perfect for drizzling over the warm danishes.
- Pure Vanilla Extract: A touch of vanilla in the glaze ties the flavors of the Danish together.
- Milk: A small amount of milk helps to thin the glaze to the perfect consistency, making it easy to drizzle over the danishes.
How to Make Cheese Danishes
Making these Cheese Danishes is surprisingly easy, and the results are incredibly rewarding. Follow these simple steps, and you’ll have a batch of perfect danishes in less than 30 minutes.
1. Preheat the Oven
Start by preheating your oven to 350°F (177°C). This will ensure that your danishes bake evenly and get that golden-brown finish.
2. Prepare the Cream Cheese Filling
In a medium-sized mixing bowl, combine the room temperature cream cheese, white sugar, and vanilla extract. Use a hand mixer or a whisk to blend these ingredients until the mixture is smooth and uniform. The result should be a creamy, sweet filling that will spread easily onto the dough.
3. Prepare the Crescent Dough
Unroll the two tubes of crescent dough. Each tube contains eight triangles, but for the Danish shape, you’ll want to press the perforations together to form rectangles. You should have a total of eight rectangular pieces.
4. Add the Butter and Brown Sugar
Brush the melted butter generously over the surface of each crescent dough rectangle. This adds flavor and helps to brown the dough. Sprinkle about 1 tablespoon of brown sugar onto each rectangle. The brown sugar will caramelize as the danishes bake, creating a deliciously sweet and slightly crispy exterior.
5. Shape the Danishes
Next, roll each rectangle from the long side to form a coil. Seal the edges to ensure the filling stays inside. Once rolled, gently curve each coil into a circular shape and pinch the ends together to form a round shape.
6. Fill the Danishes with Cream Cheese Mixture
Place the prepared coils on a baking sheet that has been sprayed with nonstick spray. Spoon about 2 tablespoons of the cream cheese mixture into the center of each coil. Be careful not to overfill, as the filling may spill out during baking.
7. Bake the Danishes
Place the baking sheet in the preheated oven and bake the danishes for 15-18 minutes, or until they are golden brown and the dough is fully cooked. Keep an eye on them toward the end to avoid over-baking.
8. Prepare the Glaze
While the danishes are baking, make the glaze by whisking together the powdered sugar, vanilla extract, and milk in a small bowl. Stir until the glaze is smooth and has a pourable consistency. If you prefer a thicker glaze, simply add more powdered sugar. If you like a thinner glaze, add a little more milk.
9. Glaze the Danishes
Once the danishes are out of the oven and have cooled for a few minutes, drizzle the glaze over the warm danishes. The glaze will soak into the danish, adding a perfect sweetness that complements the cream cheese filling.
Tips for the Best Cheese Danishes
While this recipe is simple, here are a few tips to make sure your Cheese Danishes turn out perfectly every time:
- Use Room Temperature Cream Cheese: Cold cream cheese can result in a lumpy filling. Make sure your cream cheese is soft and easy to mix before adding the other ingredients.
- Seal the Dough Well: Ensure the edges of the crescent dough are sealed tightly to keep the filling from spilling out during baking.
- Don’t Overfill: It can be tempting to load up on the cream cheese filling, but be sure to use just enough so that it doesn’t overflow during baking.
- Customize the Filling: If you want to get creative, try adding a little lemon zest, cinnamon, or nutmeg to the cream cheese filling for extra flavor.
- Make Ahead: You can prepare the danishes and refrigerate them (unbaked) the night before. When you’re ready to bake, just preheat the oven and bake as directed. This makes for an easy breakfast or brunch option.

Storing and Reheating Leftover Cheese Danishes
If you happen to have any leftover Cheese Danishes (which is unlikely, but just in case), store them in an airtight container at room temperature for up to 2 days. They can also be refrigerated for up to 1 week.
To reheat, place the danishes in the microwave for 15-20 seconds or in the oven at 300°F (150°C) for about 5-7 minutes to refresh their flaky texture.
Conclusion
These homemade Cheese Danishes are the perfect balance of sweet and creamy, with a flaky, buttery crust and a rich cream cheese filling. Whether you’re looking for a quick breakfast or a sweet treat to impress your guests, this easy recipe is sure to deliver delicious results every time. With just a few simple ingredients, you can enjoy the comforting taste of bakery-quality danishes right from your own kitchen.