Ingredients
- ½ cup butter, softened 🧈
The richness of the butter is what gives these mints their soft, melt-in-your-mouth texture. Make sure it’s softened to room temperature for easy blending. - 3 cups powdered sugar 🍚
Powdered sugar is the key to that smooth, creamy sweetness. It dissolves beautifully into the butter and creates the perfect dough for these mints. - 2 tbsp heavy whipping cream 🥛
A touch of cream adds extra richness and makes the mints even more velvety. - ¼ tsp peppermint extract 🍬
This is where the magic happens. Peppermint extract brings that signature, cool mint flavor. Adjust the amount based on how minty you like your mints. - Red gel food coloring 🎨
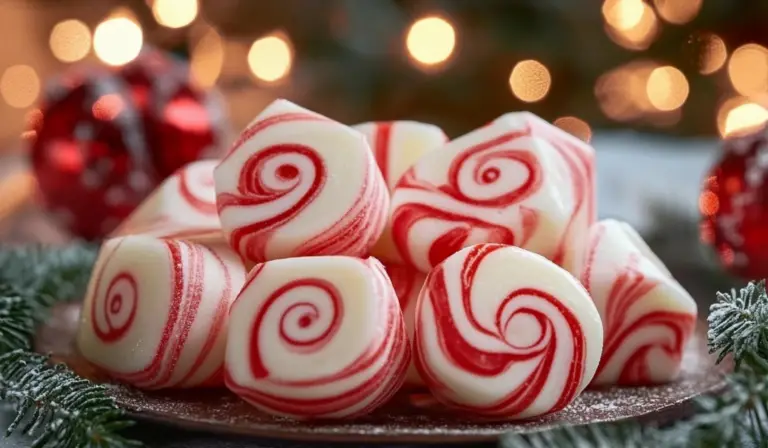
For that festive, holiday look! You’ll use this to create beautiful red-and-white swirls that evoke the spirit of Christmas.
Instructions
1️⃣ Beat the Butter
Start by beating the softened butter in a mixing bowl. Use a hand mixer or stand mixer to whip the butter until it becomes light and fluffy. The air you incorporate during this step will give the mints their delicate, creamy texture.
2️⃣ Mix in the Rest
Gradually add in the heavy whipping cream, powdered sugar, and peppermint extract. Continue beating the mixture until the dough becomes firm and smooth. At this stage, the dough will be thick, but easy to shape. The key is to find the right balance between softness and firmness, so you can easily roll the dough without it sticking to your hands.
3️⃣ Divide and Color
Next, divide the dough into two parts. Leave about ¾ of the dough white, and color the remaining ¼ with red gel food coloring. Use as much or as little food coloring as you like, depending on how vibrant you want your red mints to be.
4️⃣ Roll and Twist
Now, it’s time to create those iconic peppermint twists! Take small portions of each dough color and roll them into thin ropes. Then, gently twist a red and a white rope together to create a beautiful swirl effect. Pinch off small sections to form individual mints. The process of rolling and twisting the dough is not only fun but also allows you to create custom shapes and sizes.
5️⃣ Dry and Set
Once all the mints are shaped, let them air dry for 1-2 hours. This will help them firm up slightly. Afterward, cut them into bite-sized pieces. For the best texture, allow the mints to dry for a full 24 hours before serving. The drying process helps the outside firm up while keeping the inside soft and creamy.
Notes
- Softened Butter is Key: Make sure the butter is softened before you begin. If the butter is too hard, it won’t blend properly with the sugar and cream, and the dough will be difficult to work with.
- Adjust Peppermint Flavor: Start with ¼ teaspoon of peppermint extract and taste the dough. If you want a stronger mint flavor, add a few more drops, but be careful not to overdo it. Peppermint extract can quickly become overpowering.
- Use Gel Food Coloring: Gel food coloring is more concentrated than liquid food coloring, which means you’ll need less of it to achieve vibrant colors without altering the dough’s texture.
- Air Dry for Best Texture: While it’s tempting to eat these mints right away, it’s best to let them dry for the full 24 hours. This ensures the outside is firm while the inside stays soft and buttery.
- Prep Time: 15minutes