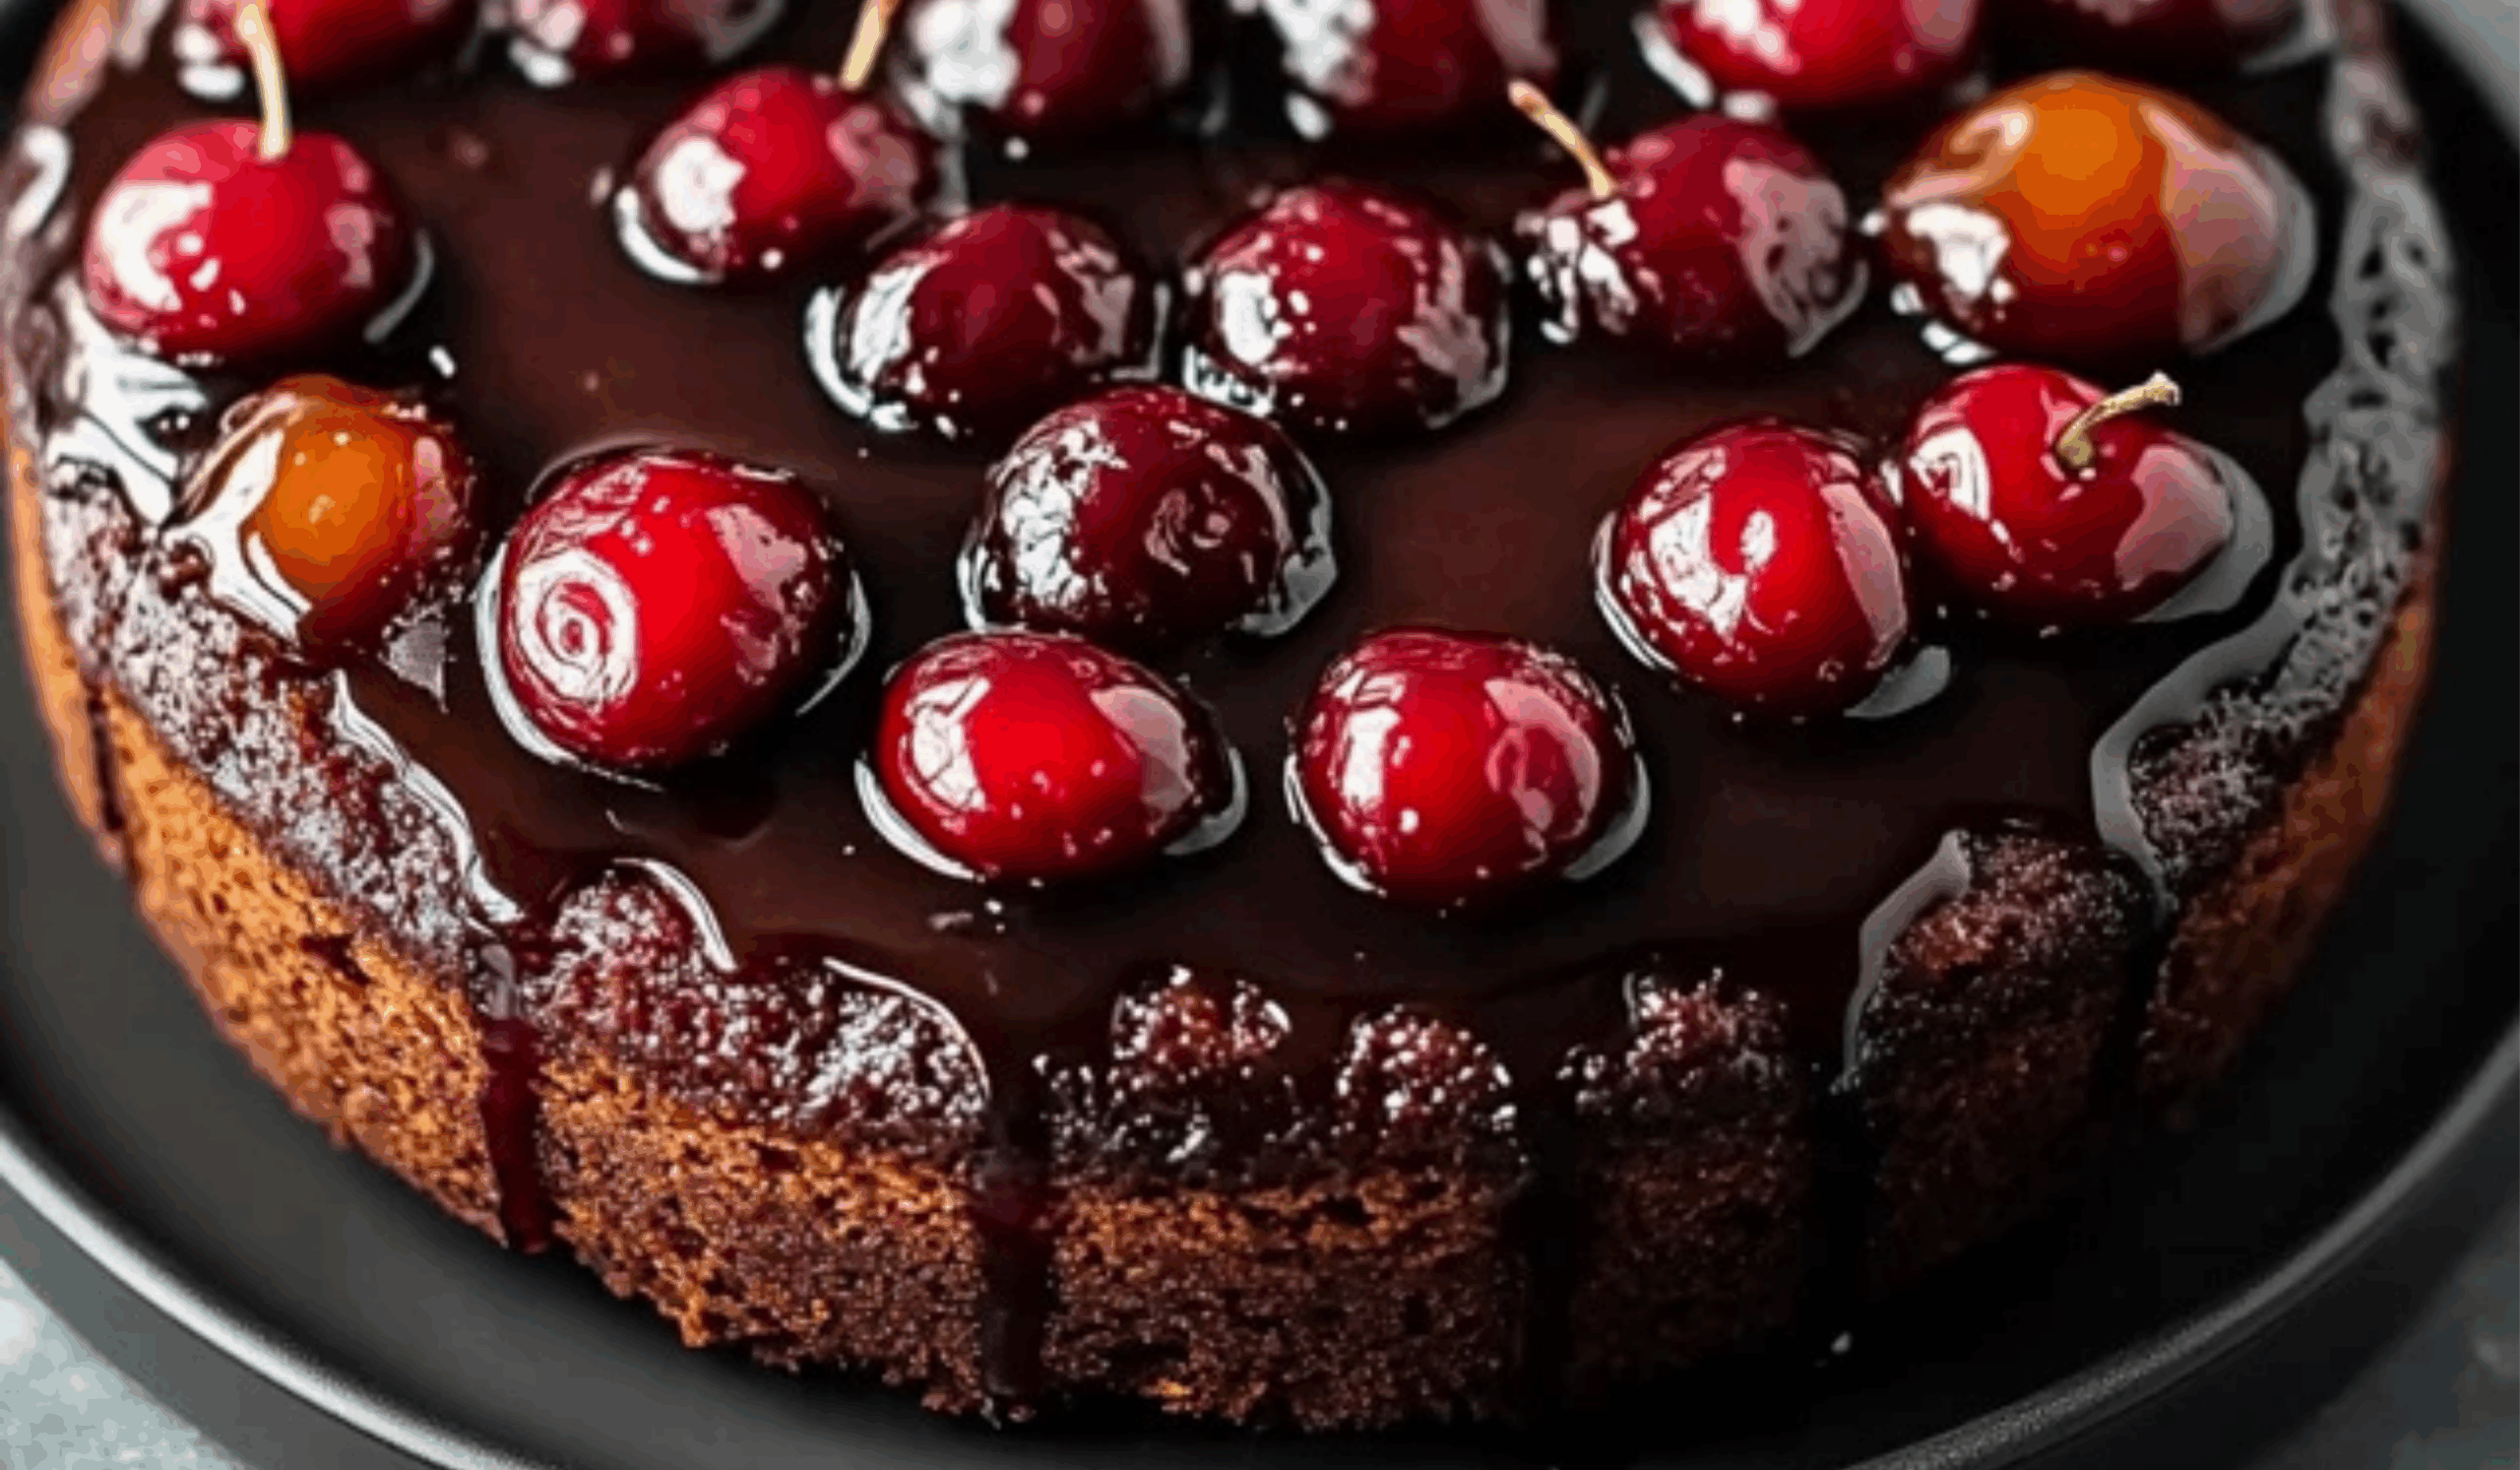
Upside-down cakes have long been a cherished tradition in many kitchens, known for their dramatic presentation and comforting flavors. The Chocolate Cherry Upside-Down Cake is a modern twist on a beloved classic, replacing pineapple rings with jewel-toned cherries and enhancing the base with rich chocolate cake. This dessert is visually impressive, deeply flavorful, and surprisingly easy to prepare, making it perfect for beginner bakers or those looking to try something new for a special celebration or casual get-together. With its moist chocolate crumb, gooey cherry topping, and beautiful presentation, this cake is sure to be the highlight of any dessert table.
Whether you want to bring a wow factor to your family dinner, impress guests with a unique treat, or just treat yourself to something truly indulgent, this Chocolate Cherry Upside-Down Cake delivers. The combination of chocolate and cherries is not just visually appealing—it’s a well-loved flavor pairing that feels both luxurious and nostalgic. As the cake bakes, the cherries release their juices into a sweet syrup that blends into the chocolate base, creating a layered experience of textures and flavors in every bite. Plus, the cake looks like it came straight from a bakery once you flip it, but it’s completely doable even for first-timers. Let’s dive into the process and create a dessert you’ll want to make again and again.
Ingredients and Preparation
For the Cherry Topping:
- 1 can (14.5 oz) of pitted tart cherries in water or light syrup, drained
- 1/2 cup granulated sugar
- 2 tablespoons unsalted butter
- 1/4 teaspoon pure vanilla extract
For the Chocolate Cake:
- 1 1/2 cups all-purpose flour
- 1 cup granulated sugar
- 1/2 cup unsweetened cocoa powder
- 1 1/2 teaspoons baking powder
- 1/2 teaspoon baking soda
- 1/4 teaspoon salt
- 2 large eggs
- 1 cup buttermilk (or 1 cup milk mixed with 1 tablespoon lemon juice, rested for 10 minutes)
- 1/2 cup neutral oil (like vegetable or canola)
- 1 teaspoon vanilla extract
- 1/2 cup hot water
Equipment Needed:
- 9-inch round cake pan
- Saucepan
- Mixing bowls
- Whisk or electric mixer
- Spatula
- Wire rack
- Parchment paper (optional)
Step-by-Step Instructions
1. Preheat the oven
Start by preheating your oven to 350°F (175°C). This ensures that the oven is hot and ready once your cake batter is assembled, helping the cake rise evenly.
2. Prepare the cherry topping
In a small saucepan over medium heat, melt the butter and add the sugar. Stir until the sugar is partially dissolved and the mixture becomes syrupy. Add the drained cherries and cook for 2–3 minutes until heated through and coated in the syrup. Stir in the vanilla extract and remove from heat. Pour this cherry mixture into the bottom of your greased 9-inch cake pan, spreading the cherries evenly across the base.
3. Mix the dry ingredients
In a large mixing bowl, sift or whisk together the flour, cocoa powder, sugar, baking powder, baking soda, and salt. Sifting helps remove lumps and ensures an even mix of leavening agents.
4. Mix the wet ingredients
In another bowl, whisk together the eggs, buttermilk, oil, and vanilla until smooth. Slowly pour the wet mixture into the dry ingredients, stirring gently until just combined. Avoid overmixing, which can create a dense cake.
5. Add hot water
Gradually stir in the hot water. This will thin out the batter significantly, but don’t worry—that’s expected. The hot water helps activate the cocoa powder, deepening the chocolate flavor and yielding a moist, tender crumb.
6. Assemble the cake
Carefully pour the chocolate batter over the cherry layer in the cake pan. Tap the pan lightly on the counter to release any air bubbles and ensure an even surface.
7. Bake
Place the pan in the center rack of the oven and bake for 35 to 40 minutes, or until a toothpick inserted into the center comes out clean or with a few moist crumbs. The cake should spring back slightly when touched.
8. Cool and invert
Let the cake rest in the pan for 10 to 15 minutes after baking. Run a knife around the edge to loosen the cake from the sides of the pan. Place a serving plate over the top of the cake pan, then carefully flip it over. Gently lift the pan away, revealing the glossy cherry topping. Allow the cake to cool for at least 20 more minutes before slicing.
Beginner Tips and Notes
Use quality cocoa powder
Since chocolate is the star of the cake layer, using a high-quality unsweetened cocoa powder will make a noticeable difference in flavor.
Don’t skip the hot water
Although it may seem unusual, hot water helps develop the richness of the cocoa and ensures the cake stays soft and moist.
Make your own buttermilk
If you don’t have buttermilk on hand, combine 1 cup of milk with 1 tablespoon of lemon juice or white vinegar and let it sit for 10 minutes. This DIY version works just as well.
Drain cherries well
Whether using cherries in syrup or water, drain them thoroughly. Excess liquid can make the topping too runny and affect how the cake bakes.
Cool before flipping
Resist the urge to flip the cake immediately after baking. Letting it cool slightly helps the topping set and reduces the risk of it sticking to the pan or falling apart.
Use parchment for extra insurance
If you’re worried about sticking, you can cut a round of parchment paper to fit the bottom of the pan. Place it over the cherry layer before adding the batter.

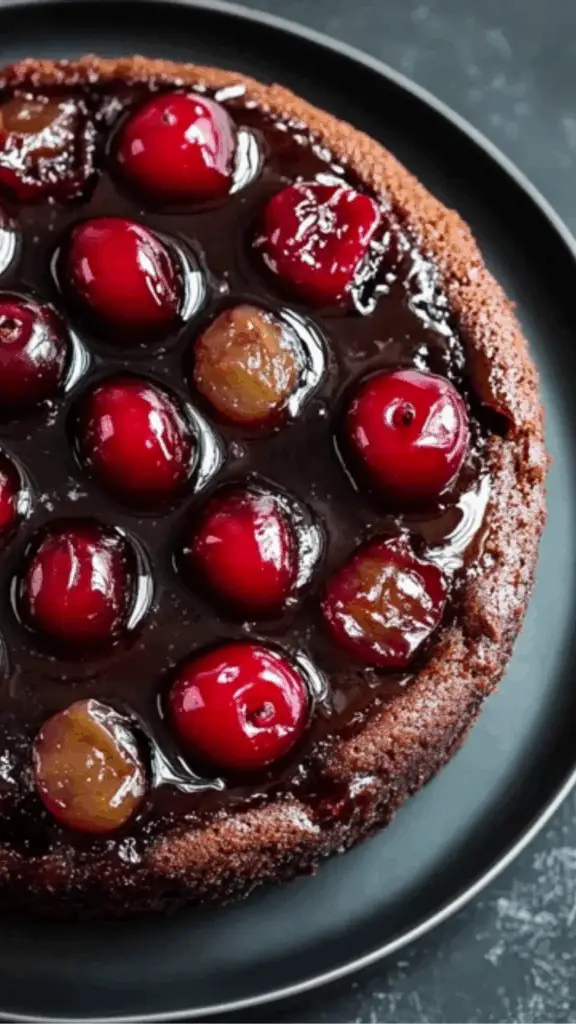
Chocolate Cherry Upside-Down Cake: A Decadent Dessert Delight
Say hello to your new dessert obsession! 🍒🍫 This Chocolate Cherry Upside-Down Cake is rich, moist, and bursting with juicy cherries caramelized in glossy perfection. 🍰✨ With a fudgy chocolate base and a vibrant cherry crown, it’s a showstopper that’s easier to make than it looks! 🎉👩🍳 Whether you’re a beginner or a seasoned baker, this cake delivers big flavor with little effort. Serve it warm with whipped cream — pure decadence in every bite! 😍🔥
- Total Time: 60 minutes
- Yield: 8–10 servings 1x
Ingredients
For the Cherry Topping:
- 1 can (14.5 oz) of pitted tart cherries in water or light syrup, drained
- 1/2 cup granulated sugar
- 2 tablespoons unsalted butter
- 1/4 teaspoon pure vanilla extract
For the Chocolate Cake:
- 1 1/2 cups all-purpose flour
- 1 cup granulated sugar
- 1/2 cup unsweetened cocoa powder
- 1 1/2 teaspoons baking powder
- 1/2 teaspoon baking soda
- 1/4 teaspoon salt
- 2 large eggs
- 1 cup buttermilk (or 1 cup milk mixed with 1 tablespoon lemon juice, rested for 10 minutes)
- 1/2 cup neutral oil (like vegetable or canola)
- 1 teaspoon vanilla extract
- 1/2 cup hot water
Instructions
1. Preheat the oven
Start by preheating your oven to 350°F (175°C). This ensures that the oven is hot and ready once your cake batter is assembled, helping the cake rise evenly.
2. Prepare the cherry topping
In a small saucepan over medium heat, melt the butter and add the sugar. Stir until the sugar is partially dissolved and the mixture becomes syrupy. Add the drained cherries and cook for 2–3 minutes until heated through and coated in the syrup. Stir in the vanilla extract and remove from heat. Pour this cherry mixture into the bottom of your greased 9-inch cake pan, spreading the cherries evenly across the base.
3. Mix the dry ingredients
In a large mixing bowl, sift or whisk together the flour, cocoa powder, sugar, baking powder, baking soda, and salt. Sifting helps remove lumps and ensures an even mix of leavening agents.
4. Mix the wet ingredients
In another bowl, whisk together the eggs, buttermilk, oil, and vanilla until smooth. Slowly pour the wet mixture into the dry ingredients, stirring gently until just combined. Avoid overmixing, which can create a dense cake.
5. Add hot water
Gradually stir in the hot water. This will thin out the batter significantly, but don’t worry—that’s expected. The hot water helps activate the cocoa powder, deepening the chocolate flavor and yielding a moist, tender crumb.
6. Assemble the cake
Carefully pour the chocolate batter over the cherry layer in the cake pan. Tap the pan lightly on the counter to release any air bubbles and ensure an even surface.
7. Bake
Place the pan in the center rack of the oven and bake for 35 to 40 minutes, or until a toothpick inserted into the center comes out clean or with a few moist crumbs. The cake should spring back slightly when touched.
8. Cool and invert
Let the cake rest in the pan for 10 to 15 minutes after baking. Run a knife around the edge to loosen the cake from the sides of the pan. Place a serving plate over the top of the cake pan, then carefully flip it over. Gently lift the pan away, revealing the glossy cherry topping. Allow the cake to cool for at least 20 more minutes before slicing.
Notes
Use quality cocoa powder
Since chocolate is the star of the cake layer, using a high-quality unsweetened cocoa powder will make a noticeable difference in flavor.
Don’t skip the hot water
Although it may seem unusual, hot water helps develop the richness of the cocoa and ensures the cake stays soft and moist.
Make your own buttermilk
If you don’t have buttermilk on hand, combine 1 cup of milk with 1 tablespoon of lemon juice or white vinegar and let it sit for 10 minutes. This DIY version works just as well.
Drain cherries well
Whether using cherries in syrup or water, drain them thoroughly. Excess liquid can make the topping too runny and affect how the cake bakes.
Cool before flipping
Resist the urge to flip the cake immediately after baking. Letting it cool slightly helps the topping set and reduces the risk of it sticking to the pan or falling apart.
Use parchment for extra insurance
If you’re worried about sticking, you can cut a round of parchment paper to fit the bottom of the pan. Place it over the cherry layer before adding the batter.
- Prep Time: 20 minutes
- Cook Time: 40 minutes
Serving Suggestions
This Chocolate Cherry Upside-Down Cake is delicious on its own, but there are several ways to elevate your serving:
With whipped cream
A dollop of freshly whipped cream adds a light, airy contrast to the rich chocolate and tangy cherries.
With vanilla or cherry ice cream
For an indulgent treat, serve warm slices with a scoop of vanilla or cherry ice cream. The cold and creamy texture is the perfect balance to the warm cake.
Dust with powdered sugar
If you want to add a little flourish without extra sweetness, a light dusting of powdered sugar gives the cake a pretty, snowy finish.
Add shaved chocolate
Sprinkle some chocolate curls or shavings over the top for a professional bakery-style look and more chocolate intensity.
Serve with coffee or red wine
The deep, bittersweet notes of chocolate pair beautifully with a strong cup of coffee or a glass of red wine such as Pinot Noir or Merlot.
Engagement Features
Tried this recipe and made it your own? Did you add a twist with different fruit or a chocolate glaze? We’d love to hear about your experience. Share your photos and tips in the comments or tag us on social media with your version of this upside-down cake.
Looking for more easy and show-stopping desserts like this one? Sign up for our weekly recipe newsletter to receive new ideas, helpful kitchen tips, and step-by-step guides straight to your inbox.
Have a special occasion coming up? Browse our full dessert collection for more chocolate-based treats, fruit-filled bakes, and everything in between. Whether you’re baking for a holiday, birthday, or just because, we’ve got recipes that make every moment sweeter.